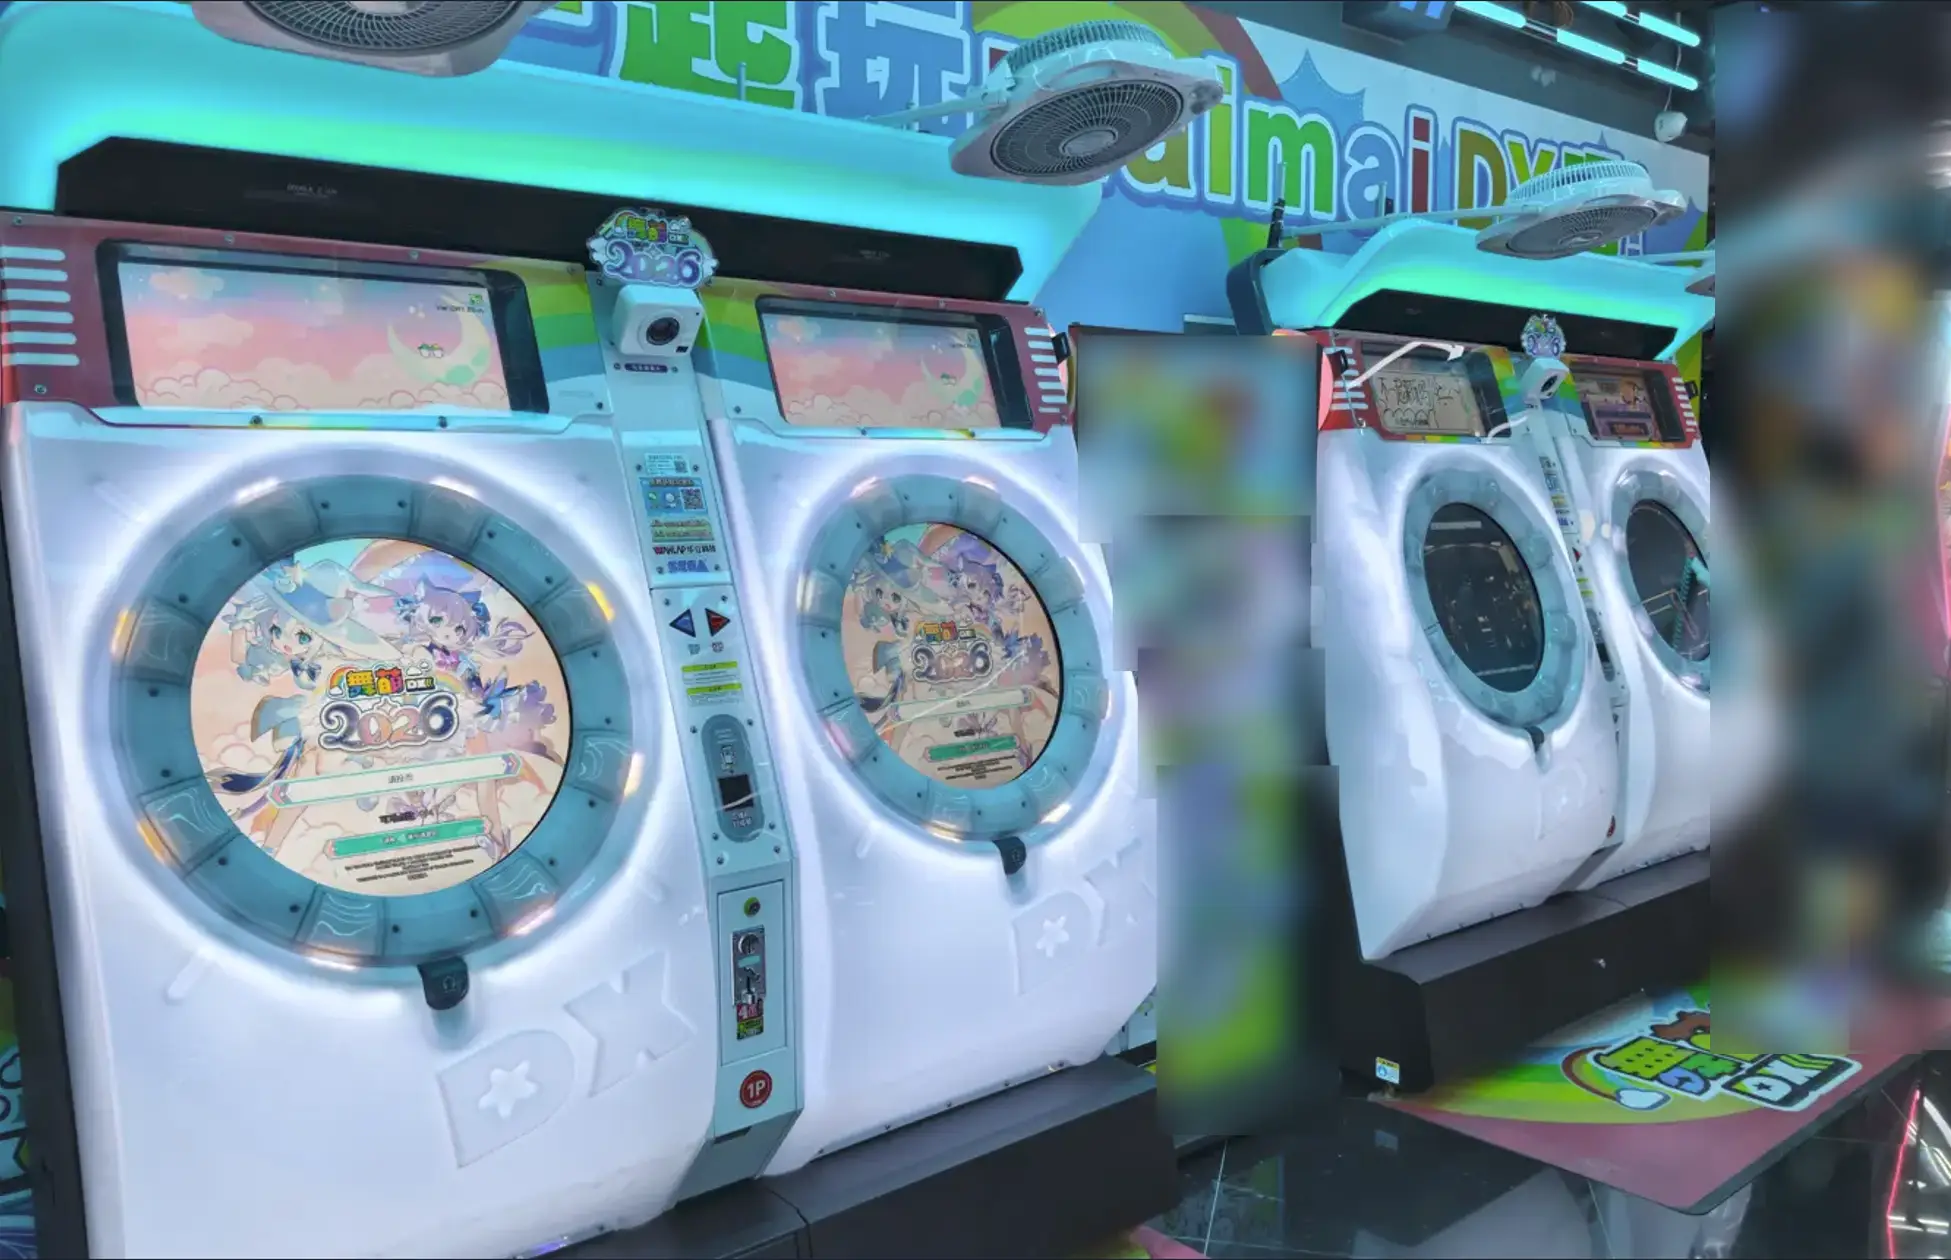

How to Clean a Maimai DX Arcade Cabinet
Introduction
The most important thing before cleaning a cabinet is to get permission from the arcade. Never disassemble the machine without authorization! We also do not encourage non‑professionals to perform this themselves.
If possible, having two or more people is highly recommended – the components are quite heavy, and the disassembly process can be tricky. Two people make things much easier.
This article focuses mainly on how to remove the touch panel assembly for screen cleaning. Button maintenance will not be covered here.
If you prefer a video guide, we recommend this one ↓
Some photos in this article reference that video since I didn’t capture all angles myself.
Preparation
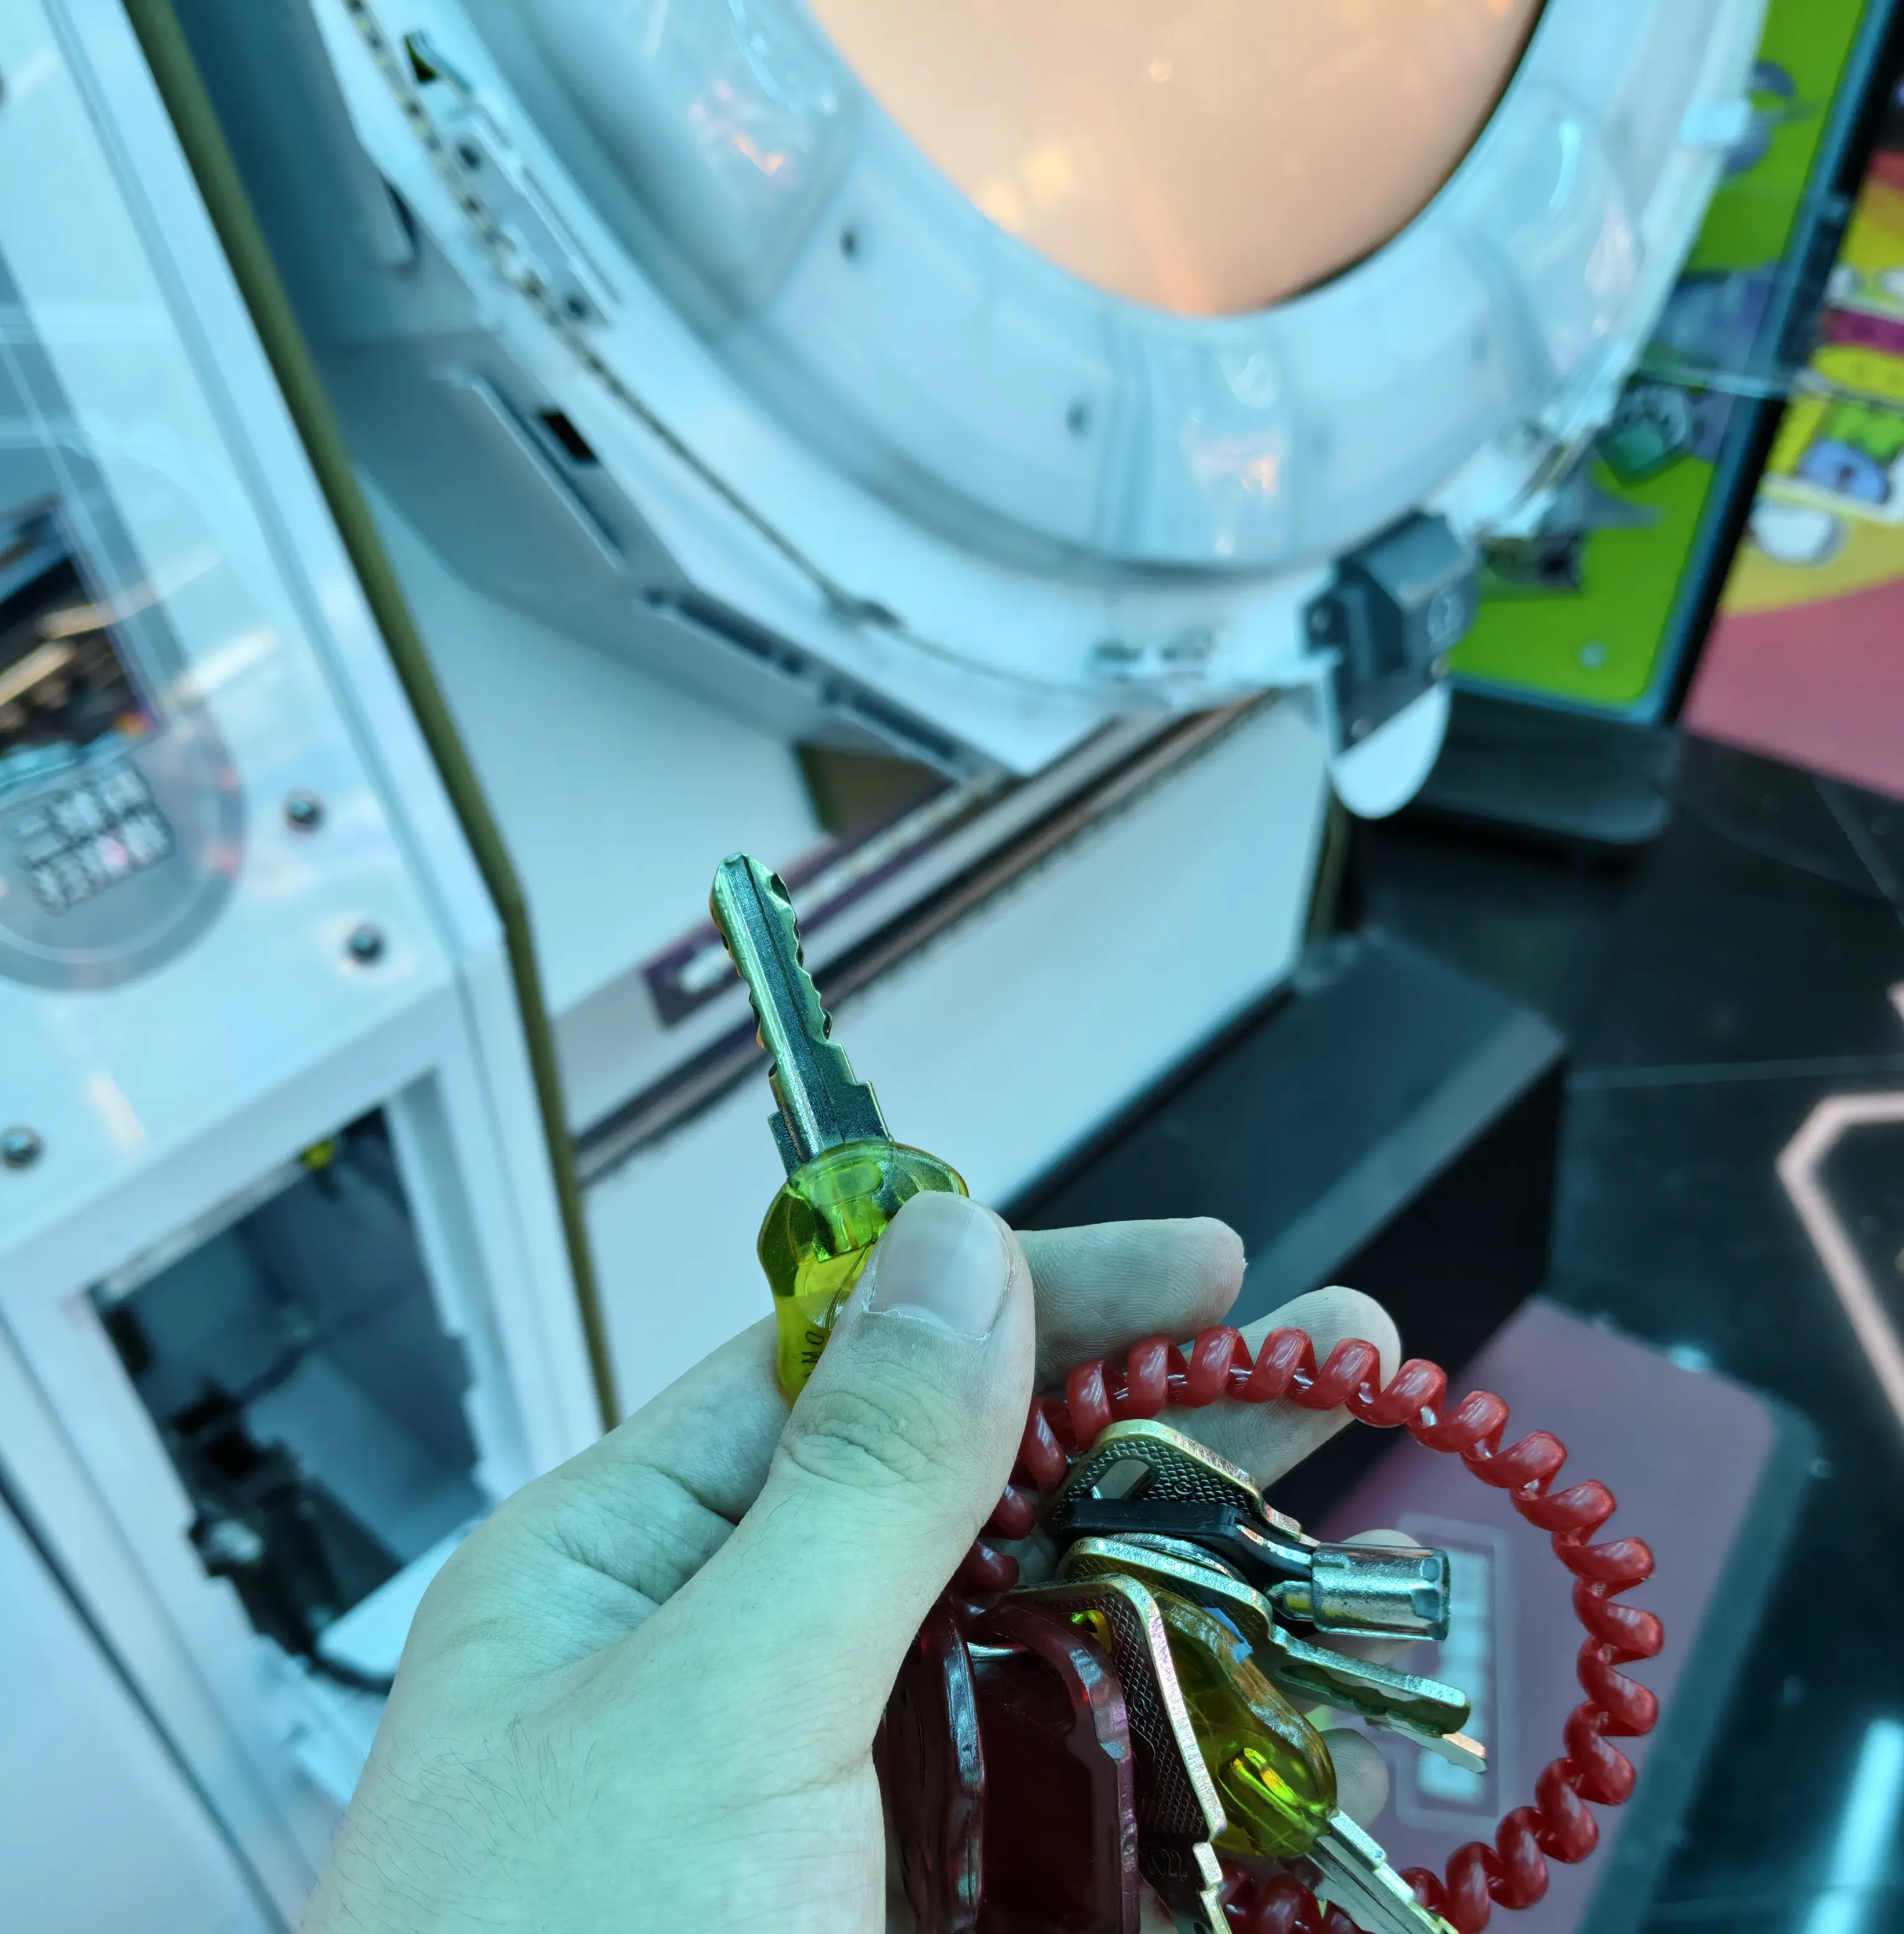
- Keys – for the front service panel and rear inspection hatch. Ask the arcade tech or staff.
- Screwdrivers – a Phillips screwdriver and a hex key set. Electric ones are better if available. It’s also helpful to have a shorter screwdriver for tight spaces.
- Wrench – if the cabinet is against the wall and needs to be moved out, you’ll need a wrench to loosen the leveling feet. An adjustable wrench is best.
- Small brush – for dusting. Arcades usually have vacuum cleaners on hand, which are very convenient.
- Two cloths – one dry, one damp.
- Power off – It’s best to shut down the machine before disassembly. Use the key to open the central service panel, where you’ll find the power switch, or locate the switch at the bottom behind the 1P side.
Disassembly Steps
1. Remove the Light Box (Top Marquee)
First, remove the front light box. This is relatively simple – a total of seven hex screws per side (7 on each P side), as shown below:
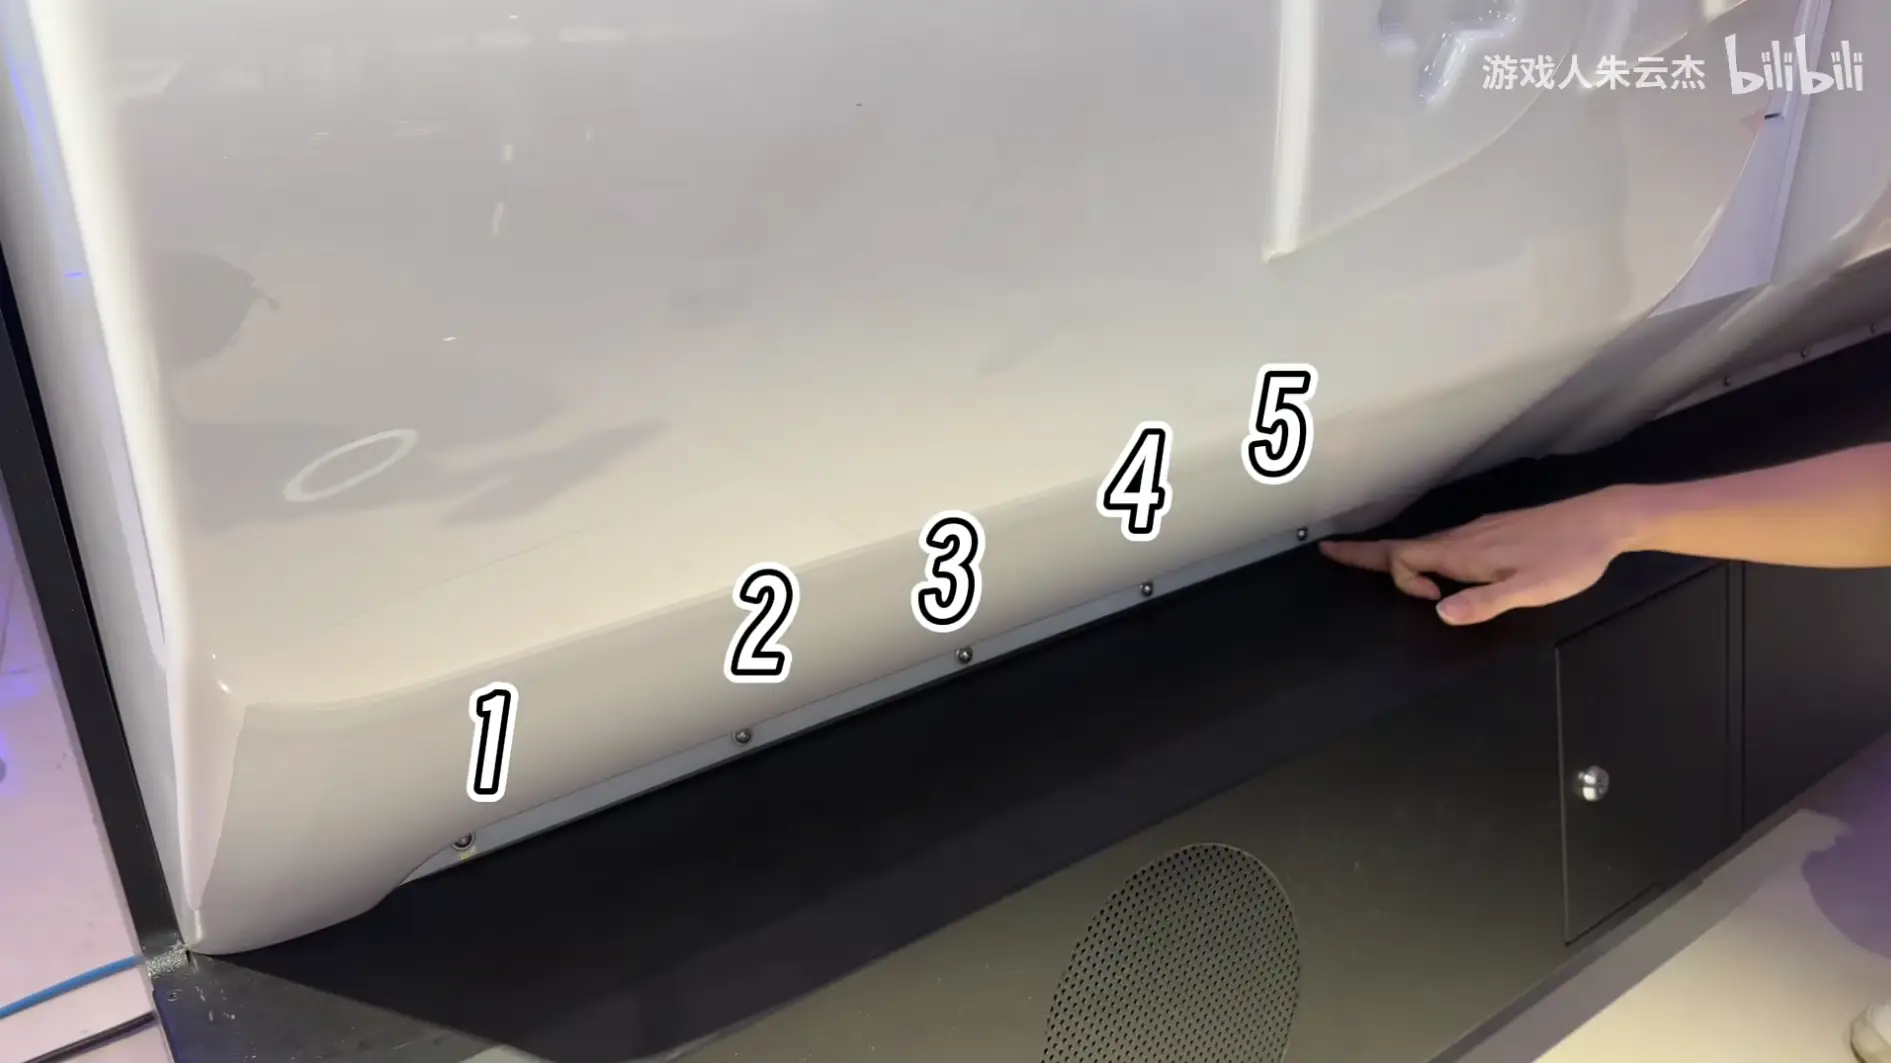
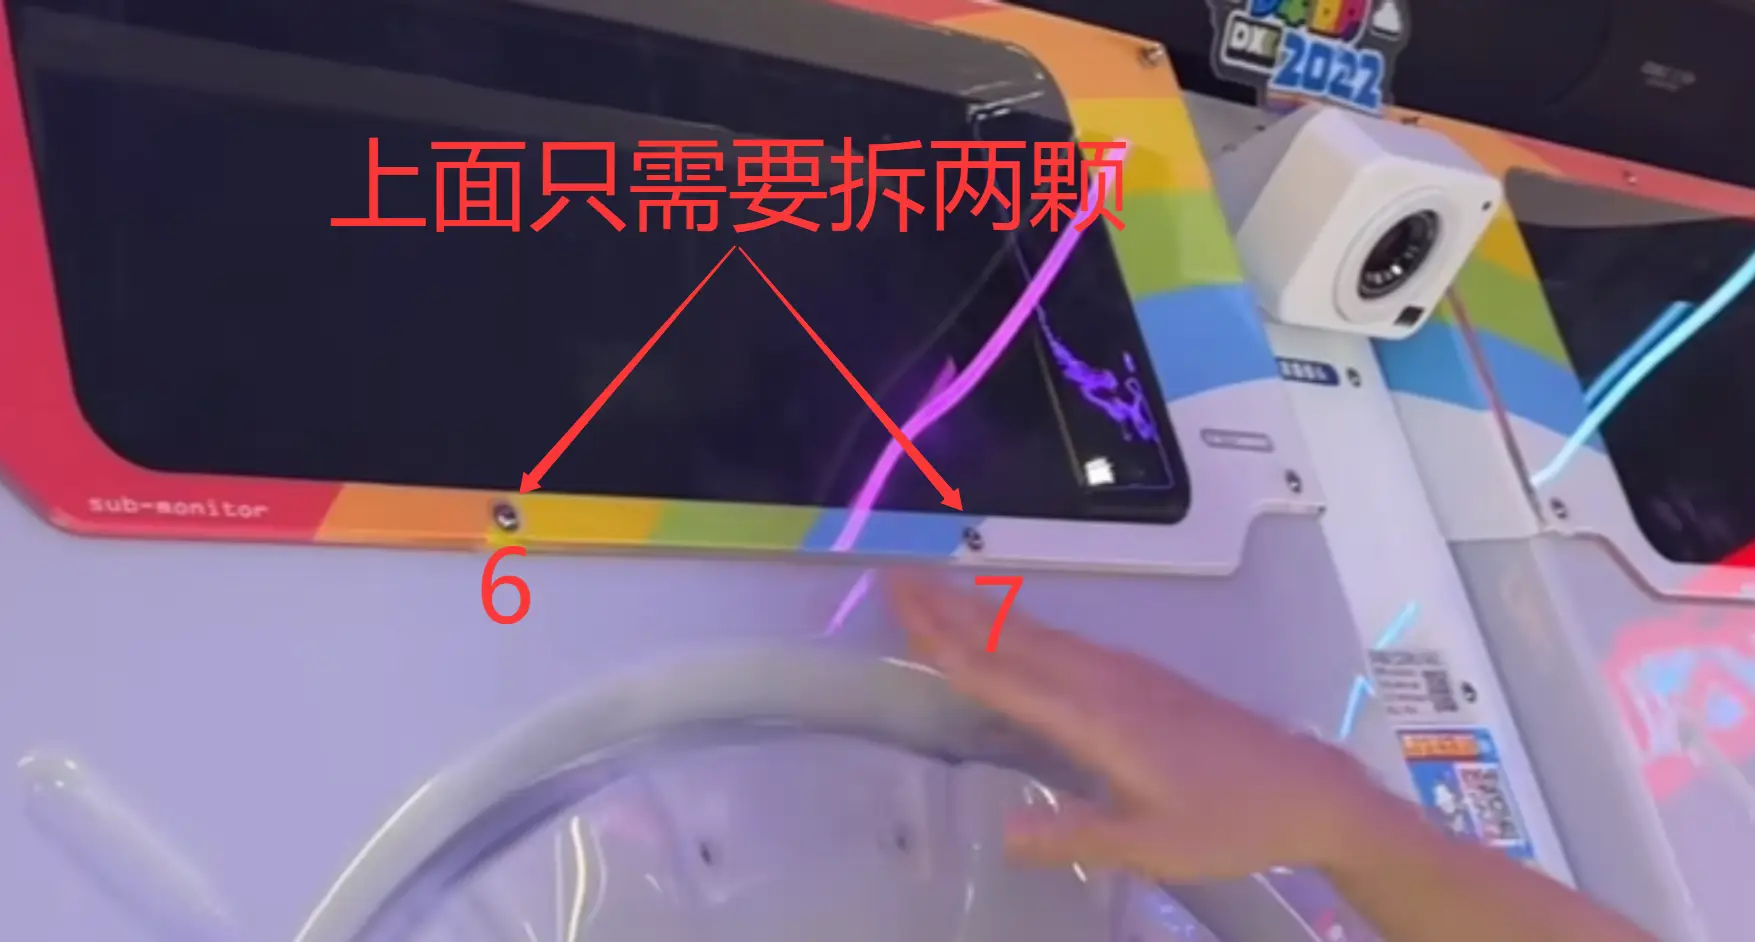
Important: Keep the removed screws in a container so they don’t get lost.
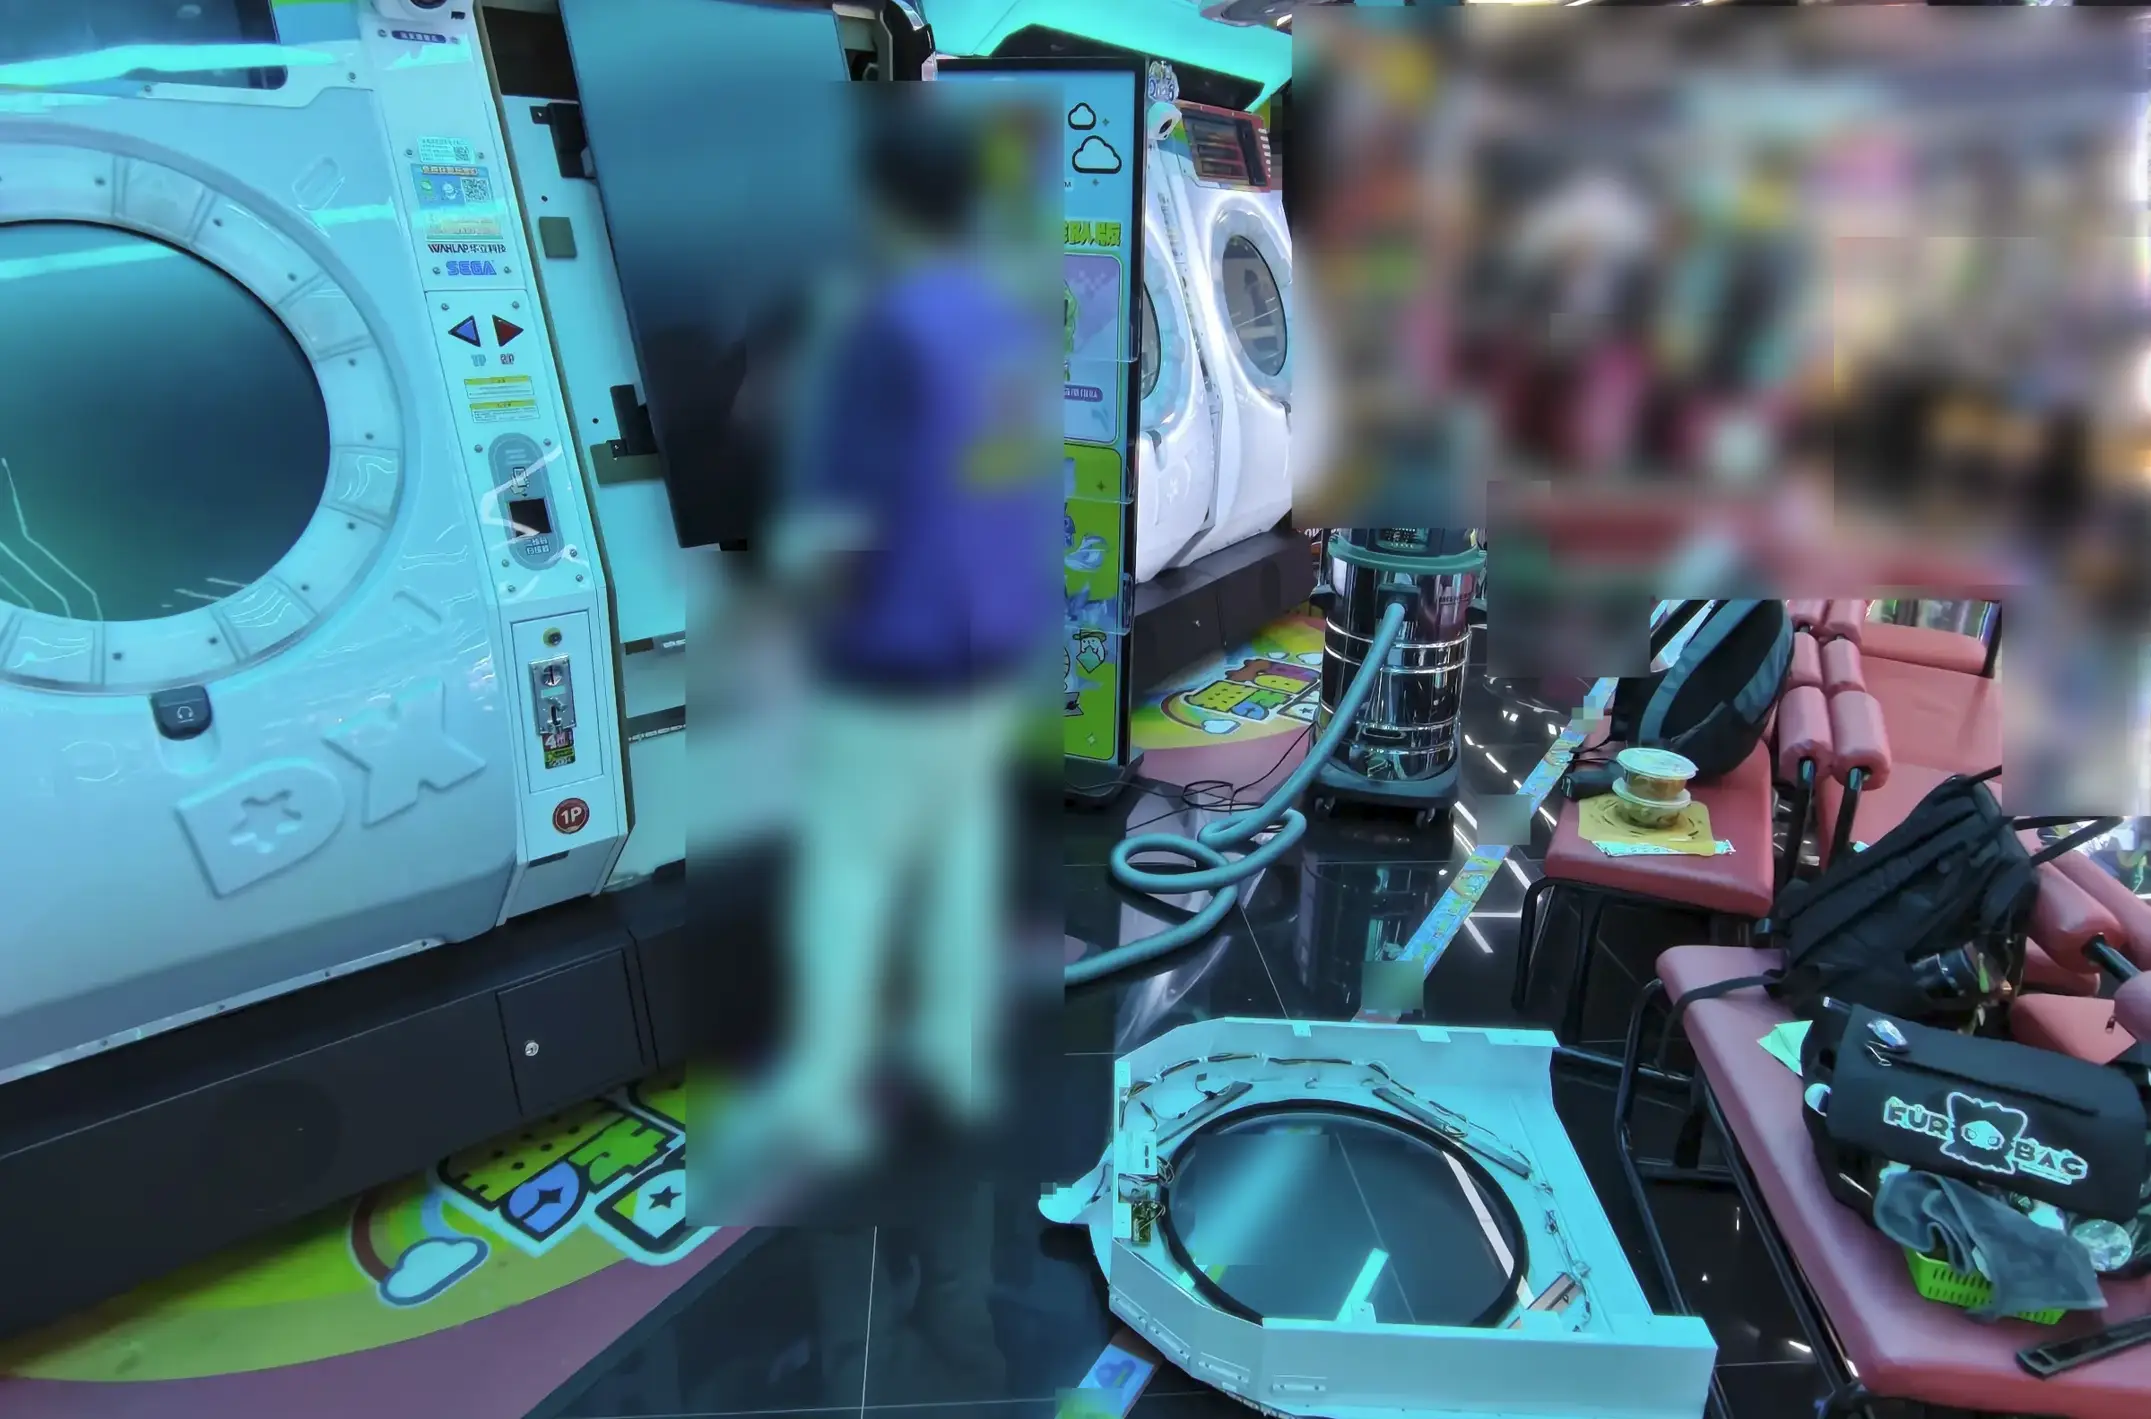
Once the screws are out, you can lift the entire light box off. It’s a bit heavy – two people are recommended. If you need to set it on the floor, place something soft underneath to avoid scratches.
After removal, use a vacuum to suck out the accumulated dust – this area usually holds the most. Then wipe it clean with a damp cloth.
For the transparent acrylic part of the top frame, if available, use some acrylic cleaner. If not, a regular cleaner with a cloth will work fine.
2. Remove the Touch Panel Assembly
This step requires you to get behind the machine, so if it’s up against a wall, you’ll need to pull it out. If you can’t move it easily, use a wrench to loosen the leveling feet. Since it’s so heavy, I had to ask the arcade tech for help on this one 😅
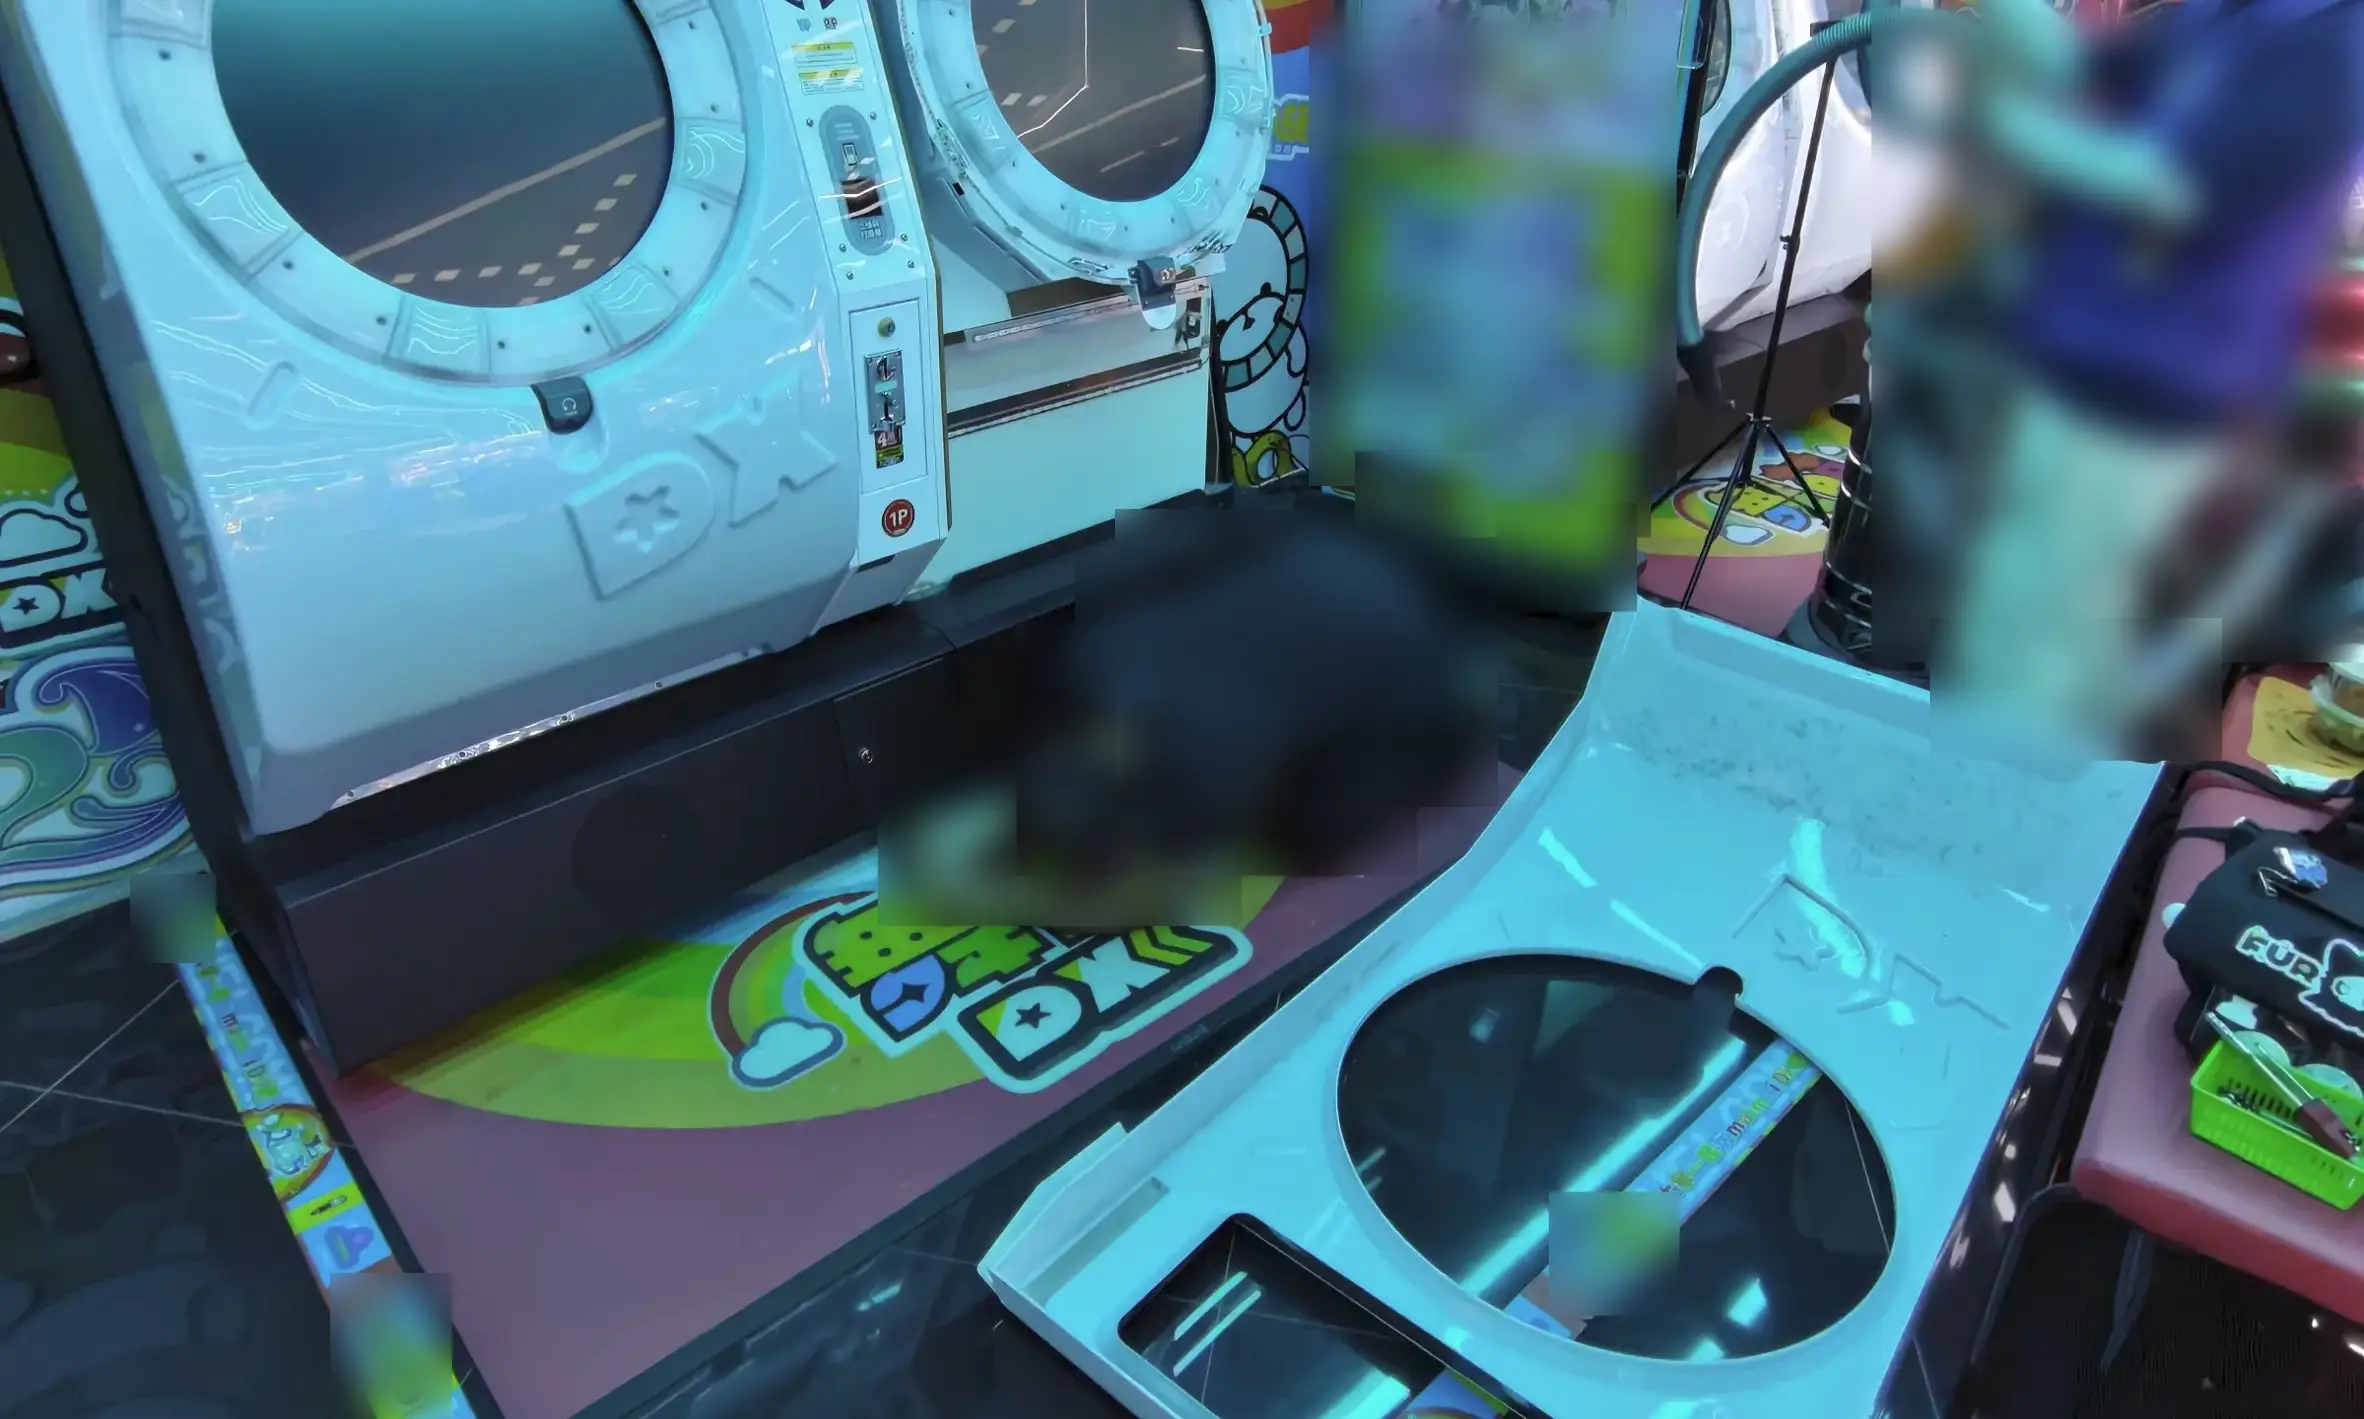
Once the machine is pulled out, open the rear upper inspection hatch – the 1P side uses hex screws, while the 2P side requires the key.
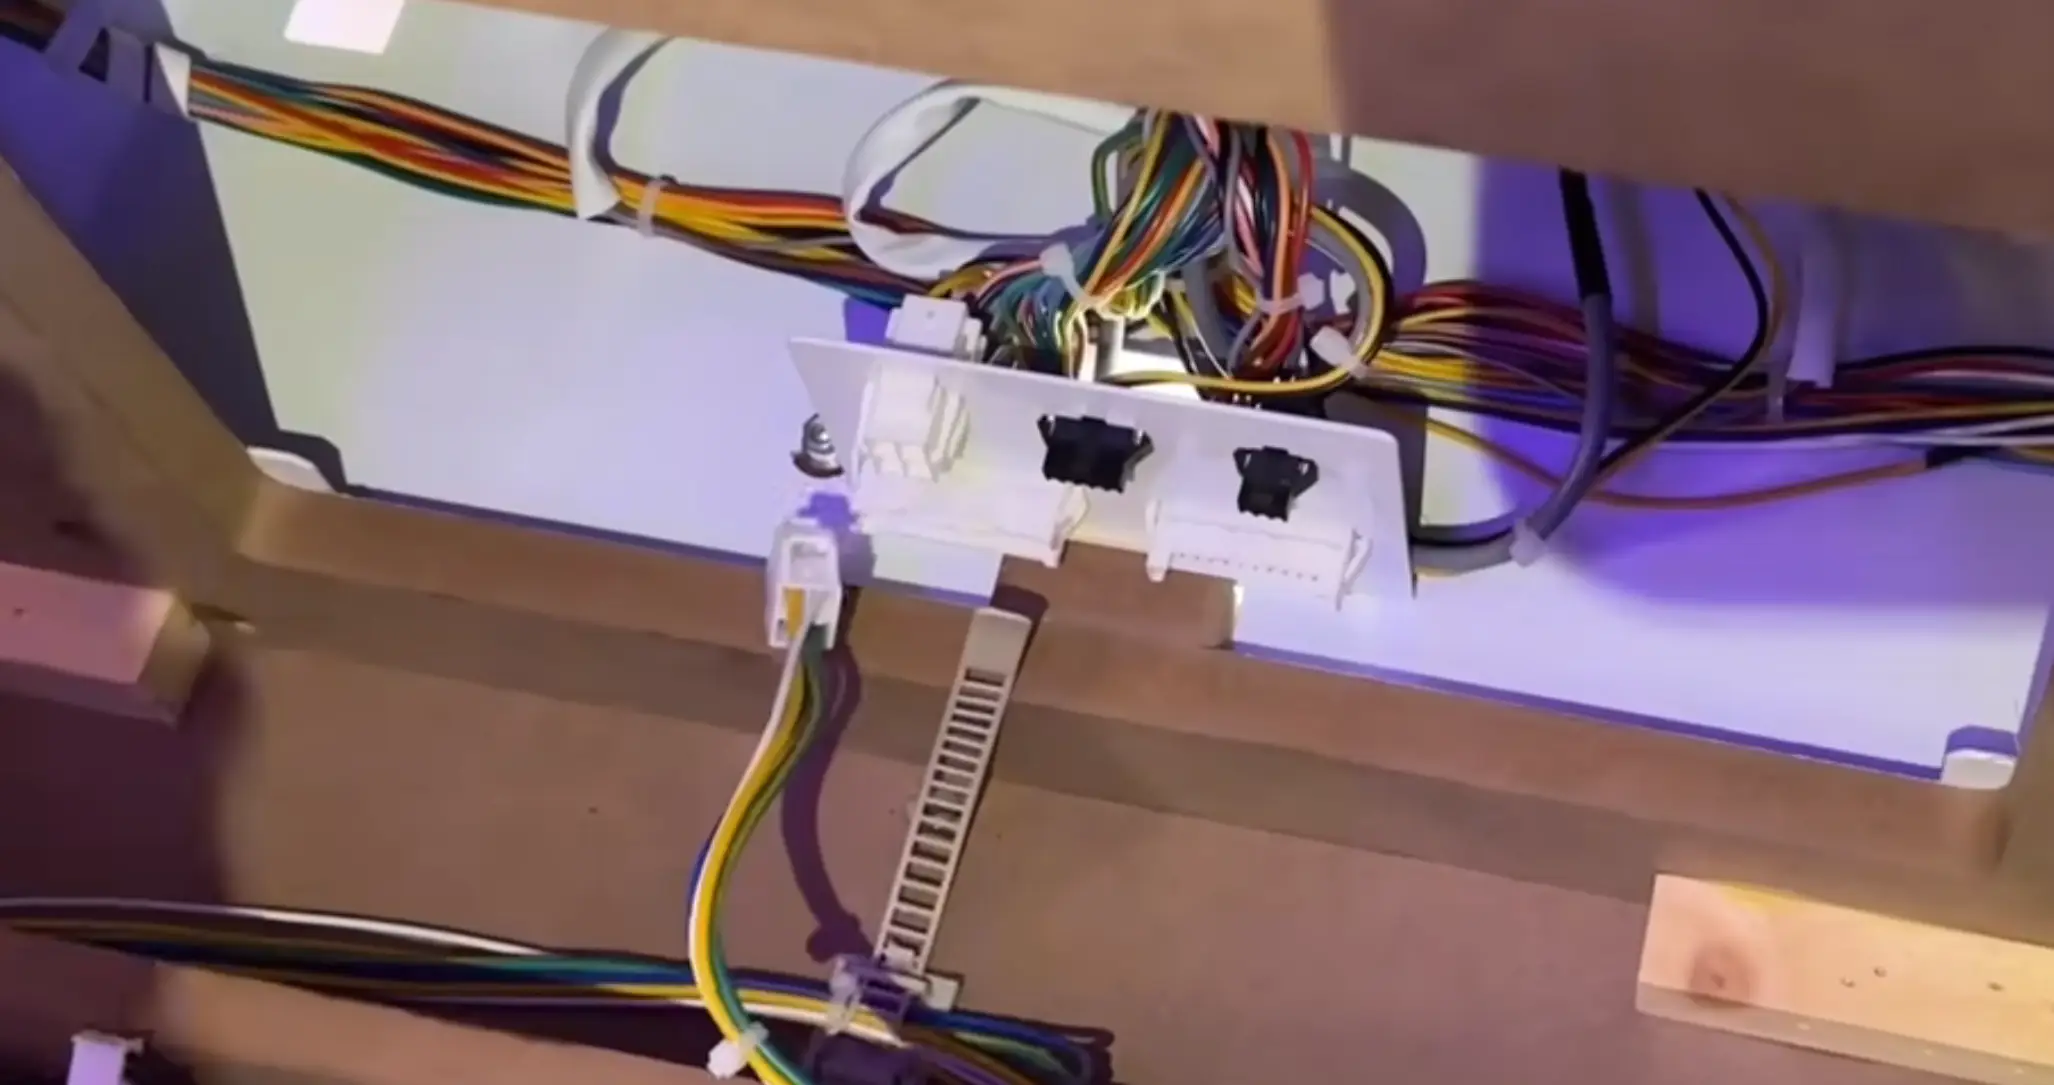
Inside, you’ll need to unplug five cables. When unplugging, gently wiggle them side‑to‑side. Always hold the connector, not the wires – pulling by the wires can damage them. See image below:
After all cables are disconnected, remove the six screws – these are Phillips, so switch to your cross‑head screwdriver.
(Since I didn’t have a complete photo, here’s a diagram from the manual instead~)
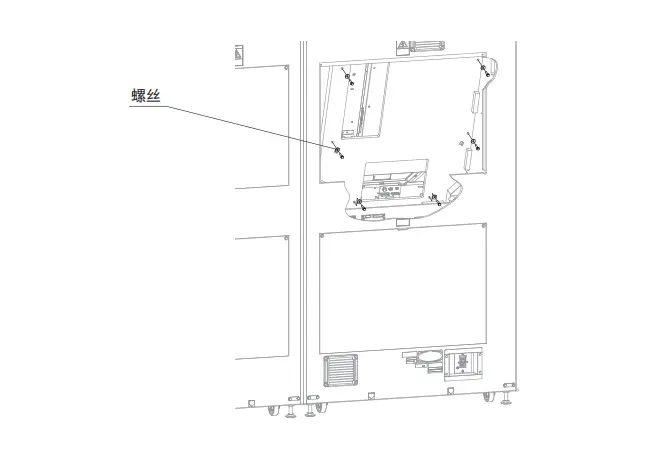
With all screws removed, go to the front of the cabinet. Lift the entire touch panel assembly upward, then pull it backward to detach it. It’s quite heavy, so two people are strongly recommended.
Once removed, you can clean the inside of the touch panel assembly. We recommend gently wiping with a dry cloth – do not use alcohol or any corrosive liquids, and avoid using a damp cloth.
You can also clean the display panel underneath, as well as any other dusty areas inside the cabinet – a vacuum and a cloth work well here.
3. Reassembly
Reassembly is simply the reverse of disassembly. Keep these points in mind:
- Make sure the touch panel assembly is fully seated against the frame and securely fastened.
- Prefer manual screwdrivers when re‑installing. If using an electric screwdriver, set the torque to a low setting – high torque can crack the wooden frame or acrylic panels.
- It’s recommended to test the machine before re‑installing the front light box – ensure everything works, then put it back.
4. Testing
Once powered on and in game, open the central service panel and press the “test” button.
- Button 1 = Up
- Button 4 = Down
- Button 5 = Confirm
Navigate to Touch Sensor Test and press Button 5. Use Button 1 or 4 to select either 1P or 2P, then press Button 5 to confirm.
Wait for the self‑test to complete, then test the touch sensors. If the arcade has the official touch test hammer, it’s recommended for more accurate results. If not, wearing gloves also works.
Of course, you can also just play a round to test things out!
Summary
Cleaning isn’t actually that difficult – but the end result is a fresh, clean machine that feels great to play on. And just like that, you’ve got yourself a sparkling new Dilabra (Maimai DX)!