

The Ultimate Windows Guide to Hosting a Minecraft Bedrock Server
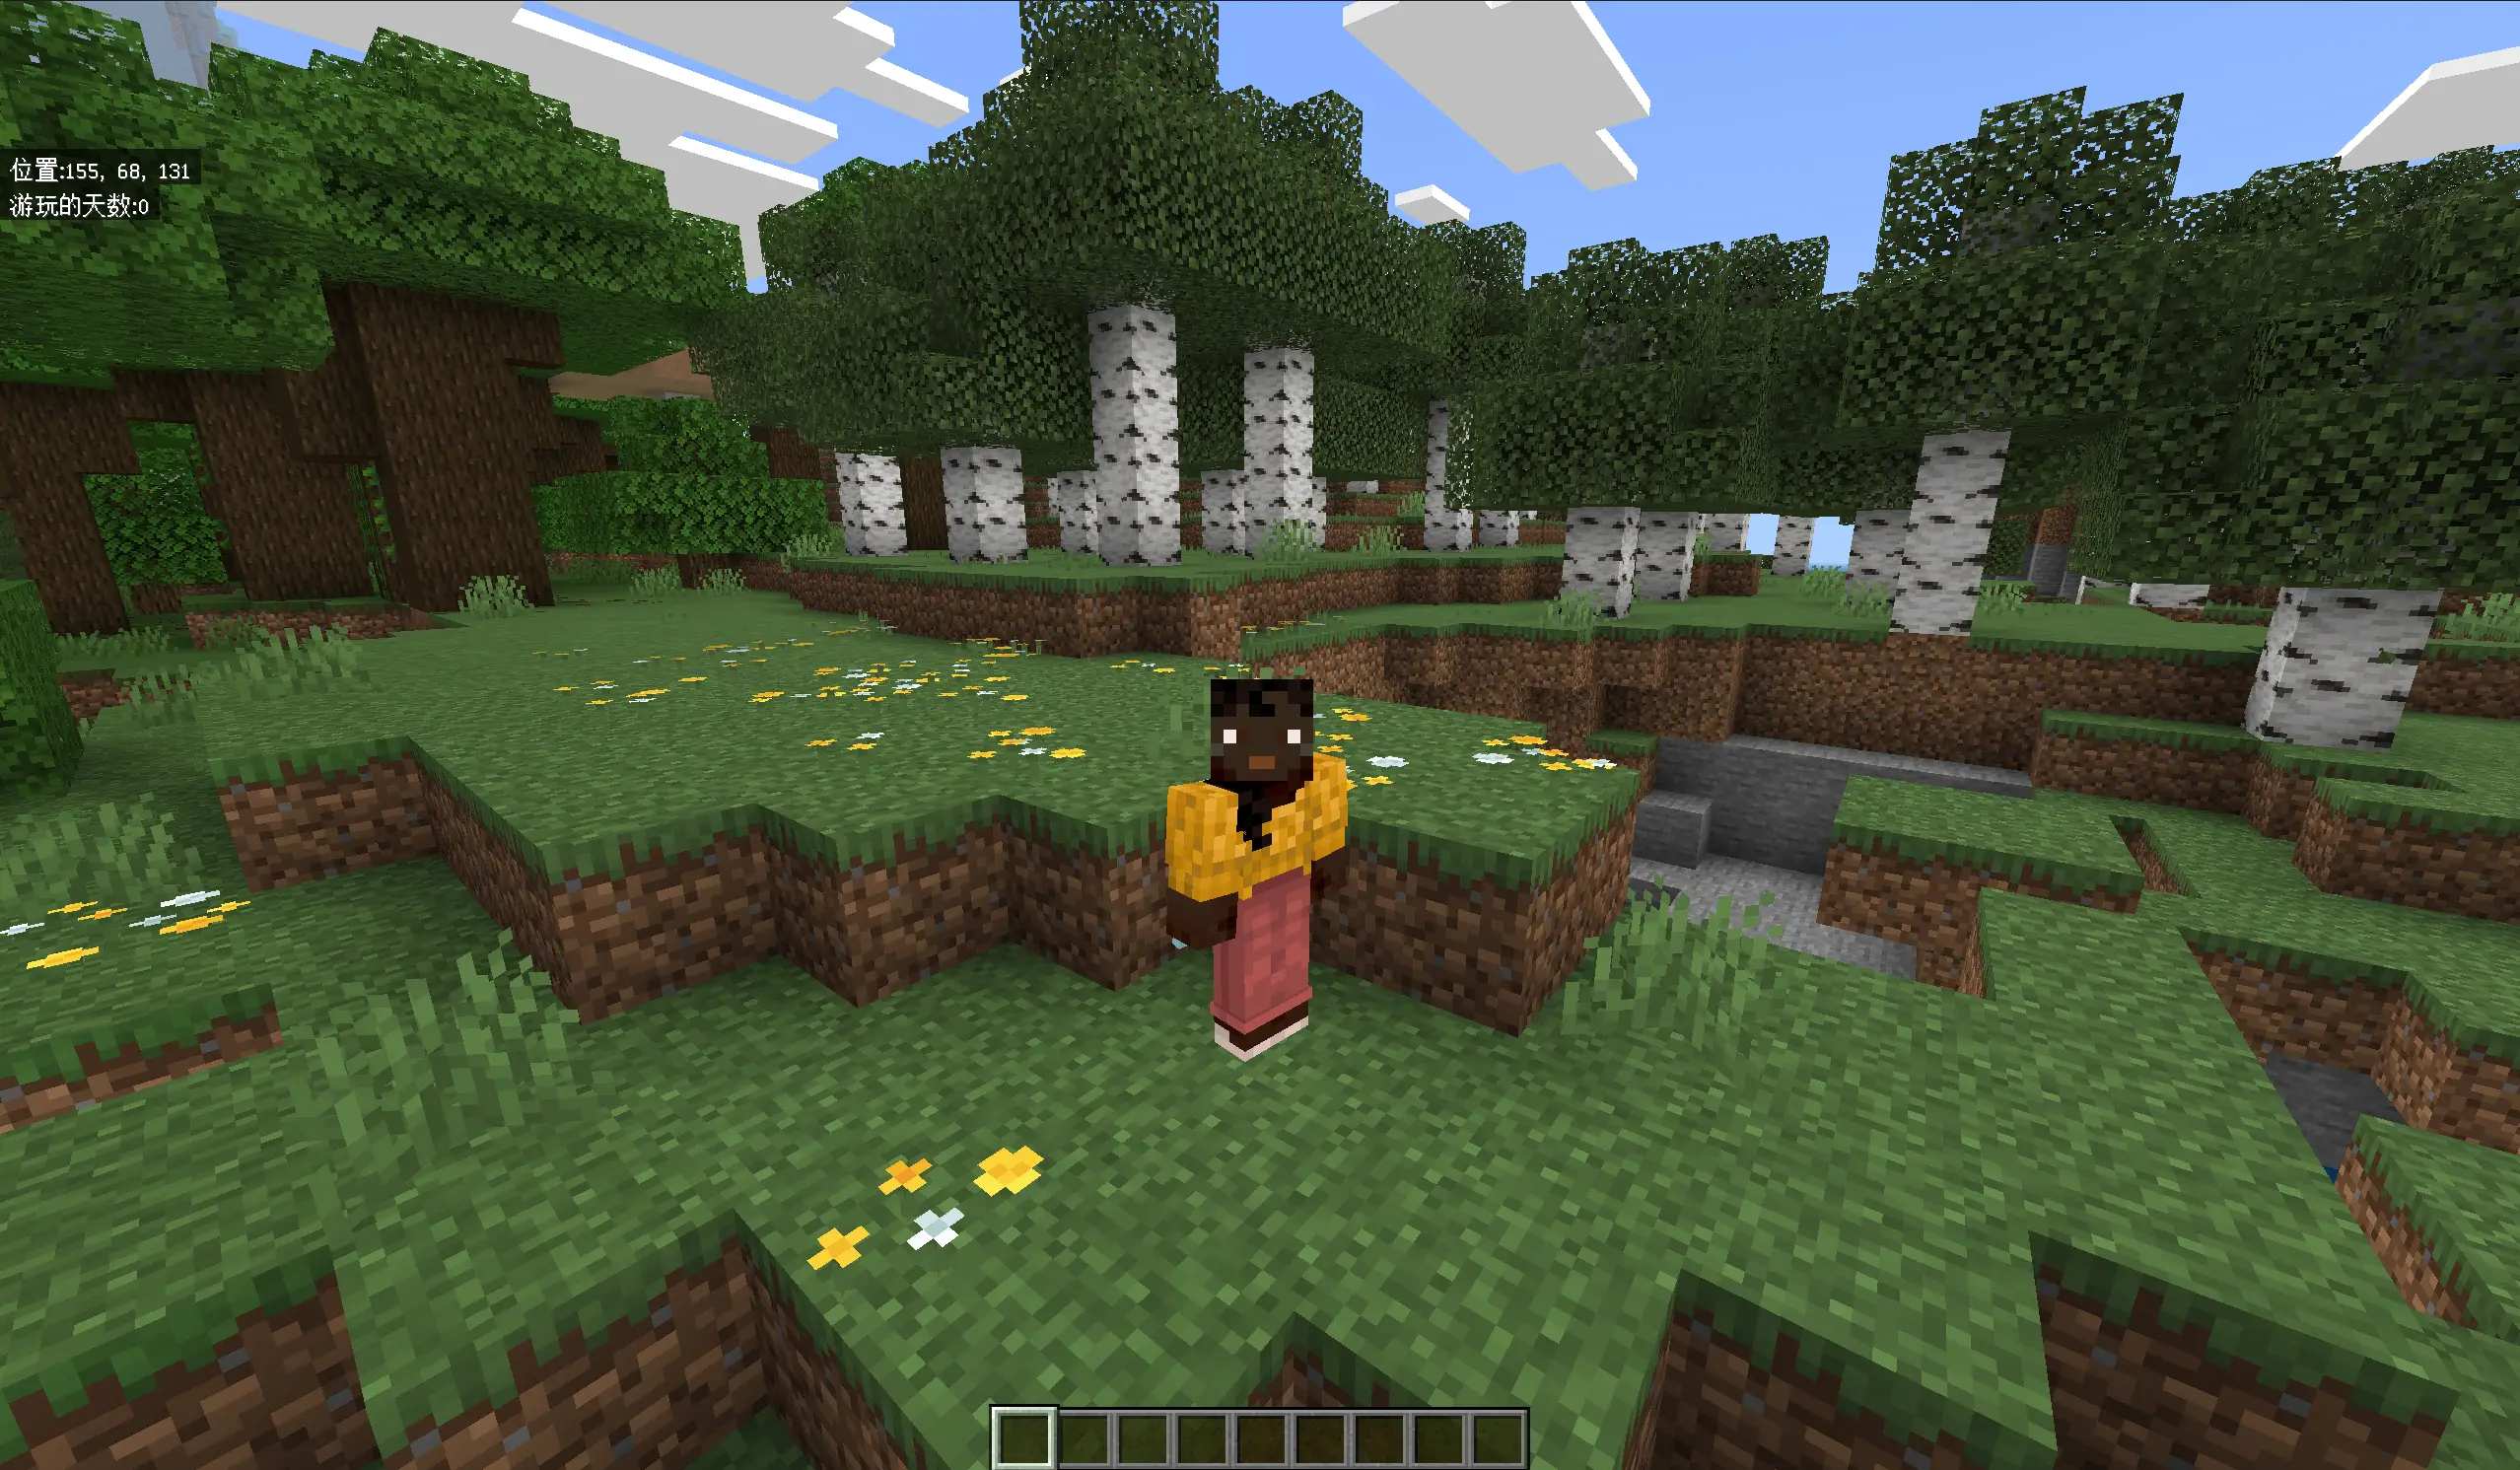
The Ultimate Windows Guide to Hosting a Minecraft Bedrock Server
Hey everyone! Following up on the Java Edition server guide, today we’re covering Minecraft Bedrock Edition server hosting. Bedrock’s biggest advantage is cross‑platform play – it lets players on Windows 10/11, mobile (iOS/Android), tablets, Xbox, Switch, and more all play together on the same server!
Bedrock vs Java – What’s the Difference?
Before we start, here’s a quick comparison:
| Feature | Java Edition | Bedrock Edition |
|---|---|---|
| Platforms | PC only (Windows/Mac/Linux) | Multi‑platform (PC/mobile/consoles) |
| Language | Java | C++ |
| Mod Support | Rich (Forge/Fabric) | Limited (plugins/Add‑ons) |
| Performance | Java‑dependent optimisation | Native, better performance |
| Redstone | Original mechanics | Slightly different |
| Commands | Traditional syntax | Newer syntax |
| Best For | PC players, mod enthusiasts | Cross‑platform, casual players |
Which one should you choose?
- If you have friends on mobile or consoles → Bedrock
- If you want lots of mods → Java
- If everyone is on PC and loves technical gameplay → Java
Prerequisites
1. System Requirements
- OS: Windows 10 or Windows 11 (64‑bit)
- RAM: At least 4 GB total (Bedrock is lighter than Java)
- Storage: Minimum 5 GB free space
- Network: Stable internet connection
- Microsoft Account: Required for authentication
2. Software You’ll Need
- Minecraft Bedrock Dedicated Server (official)
- Text editor (Notepad++ or VS Code recommended)
- Optional: Port forwarding tools (for online play)
Note: Bedrock servers do NOT require Java – that’s the biggest difference from Java Edition!
Step 1: Download the Bedrock Server
Option A: Official Bedrock Dedicated Server (Recommended)
-
Visit the official download page
https://www.minecraft.net/en-us/download/server/bedrock -
Choose the Windows version
- Look for “Bedrock Dedicated Server for Windows”
- Click the “Download” button – you’ll get a .zip file
-
Extract the files
- Create a folder on D: or E: drive, e.g.,
D:\MC_Bedrock_Server - Right‑click the .zip → Extract Here
- Copy all files into
D:\MC_Bedrock_Server
- Create a folder on D: or E: drive, e.g.,
-
File structure – after extraction, you should see:
D:\MC_Bedrock_Server\├── bedrock_server.exe # Main executable├── bedrock_server_how_to.html # Instructions├── permissions.json # Permission config├── server.properties # Server config├── whitelist.json # Whitelist├── worlds\ # World folder└── ... other files
Option B: Third‑Party Server Software (More Features)
If you want plugins or extra features, try these:
Popular alternatives:
- PocketMine‑MP: https://pmmp.io/ (plugin‑supported)
- Nukkit: https://cloudburstmc.org/ (Java‑based, cross‑platform)
- LeviLamina: https://lamina.levimc.org/ (lightweight)
For beginners: Start with the official server – it’s the simplest and most stable.
Step 2: First Server Launch
1. Direct Launch (Easiest)
- Navigate to
D:\MC_Bedrock_Server - Double‑click
bedrock_server.exe - A command prompt window will open
- Wait until you see something like:
Server started.IPv4 supported, port: 19132IPv6 supported, port: 19133
- Your server is running!
Note: The first launch generates a default world – this may take a minute or two.
2. Create a Startup Script (Recommended)
For easier management, create a start.bat file:
- In the server folder, right‑click → New → Text Document
- Rename it to
start.bat - Right‑click and edit with Notepad, paste this:
@echo offtitle Minecraft Bedrock Serverecho Starting Minecraft Bedrock server...echo.bedrock_server.exepause- Save it – from now on, just double‑click
start.batto launch.
3. Firewall Configuration
On first launch, Windows Firewall may pop up:
- You’ll see a “Windows Security Alert” window
- Check both “Private” and “Public” networks
- Click “Allow access”
If you missed the popup, set it manually:
- Control Panel → Windows Defender Firewall → Advanced Settings
- Inbound Rules → New Rule
- Port → UDP → Specific local ports:
19132,19133 - Allow the connection
- Name the rule (e.g., “Minecraft Bedrock Server”) and save
Important: Bedrock uses UDP protocol, not TCP!
Step 3: Configure the Server
1. Edit server.properties
Shut down the server (press Ctrl + C in the command window), then open server.properties with Notepad.
Here are the key settings and what they do:
# ===== Basic Settings =====
# Server name (shown in the server list)server-name=Minecraft Bedrock Server
# Game mode: survival, creative, adventuregamemode=survival
# Difficulty: peaceful, easy, normal, harddifficulty=normal
# Allow cheats (commands)allow-cheats=false
# Maximum number of playersmax-players=10
# Server port (UDP)server-port=19132
# IPv6 portserver-portv6=19133
# Online mode (premium authentication)online-mode=true
# Enable whitelistwhite-list=false
# Allow player damageplayer-damage=true
# Drop items on deathdrop-items-on-death=true
# ===== World Settings =====
# World namelevel-name=Bedrock level
# World seed (leave blank for random)level-seed=
# World type: default, flat, legacylevel-type=default
# Default permission level: member, operator, visitordefault-player-permission-level=member
# Generate structures (villages, fortresses, etc.)generate-structures=true
# Bonus chest at spawnbonus-chest-enabled=false
# Spawn protection radius (blocks)spawn-protection=16
# ===== Performance Settings =====
# View distance (in chunks)tick-distance=4
# Max threads (0 = auto)max-threads=8
# Enable education featureseducation-feature-enabled=false
# ===== Other Settings =====
# MOTD (message of the day)motd=A Minecraft Bedrock Server
# Emit server telemetryemit-server-telemetry=true
# Content log filecontent-log-file-enabled=false
# Compression thresholdcompression-threshold=1
# Allow flightallow-flight=false
# Client-side chunk generationclient-side-chunk-generation-enabled=true
# Encryptionencryption-enabled=true
# Texture pack requiredtexturepack-required=false
# Server authoritative movementserver-authoritative-movement=server-auth
# Correct player movementcorrect-player-movement=true
# Server authoritative block breakingserver-authoritative-block-breaking=true2. Important Settings Explained
Game Mode
gamemode=survival # Survival (recommended)gamemode=creative # Creativegamemode=adventure # Adventure (can't break blocks)Player Management
# Max players (adjust based on your upload speed)# LAN: 10‑20# Online: 5‑10 (depends on upload bandwidth)max-players=10
# Default permission level# member = regular player# operator = admin (can use commands)# visitor = spectator onlydefault-player-permission-level=memberOnline Mode (Authentication)
# true = only Microsoft‑authenticated accounts (recommended)# false = offline accounts allowed (not recommended – security risk)online-mode=trueWorld Generation
# Custom seed – find nice ones onlinelevel-seed=-1234567890
# Superflat world (great for creative building)level-type=flat
# View distance (affects performance)# Low‑end PC: 2‑3# Mid‑range: 4‑6# High‑end: 8‑12tick-distance=4Flight Settings
# Allow flight in survival mode# Creative mode always allows flightallow-flight=false3. Save and Restart
- Save
server.properties(Ctrl + S) - Restart the server (double‑click
start.batorbedrock_server.exe) - New settings take effect
Step 4: Connect to Your Server
Local Connection (Same PC)
- Open Minecraft Bedrock client
- Click Play → Servers
- Scroll to the bottom and click Add Server
- Fill in:
- Server Name: Anything, e.g., “My Server”
- Server Address:
localhostor127.0.0.1 - Port:
19132(if unchanged)
- Click Save
- Click the server name to join
LAN Connection (Same WiFi)
Bedrock makes LAN discovery super easy!
Method A: Auto‑Discovery (Easiest)
- Make sure all devices are on the same WiFi
- Start your server
- On mobile/tablet, open Minecraft
- Click Play → Friends tab
- Your server should appear automatically
- Tap to join
Method B: Manual Addition
If auto‑discovery doesn’t work:
-
Find your PC’s local IP
- Press
Win + R, typecmd, hit Enter - Run
ipconfigand press Enter - Look for IPv4 Address – e.g.,
192.168.1.100
- Press
-
Add server on other devices
- Open Minecraft
- Play → Servers → Add Server
- Server Address:
192.168.1.100 - Port:
19132 - Save and join
Tip: Make sure all devices are logged into Microsoft accounts.
Online Connection (Let Friends Join from the Internet)
Method A: Router Port Forwarding (Requires Public IP)
-
Check if you have a public IP
- Visit https://ip.cn to see your public IP
- Log into your router and check the WAN IP
- If they match, you have a public IP
-
Log into your router
- Open browser to
192.168.1.1or192.168.0.1 - Enter admin credentials
- Open browser to
-
Set up port forwarding
- Find “Port Forwarding”, “Virtual Server”, or “NAT”
- Add a rule:
- External Port:
19132 - Internal Port:
19132 - Internal IP: your PC’s IP
- Protocol: UDP (important!)
- External Port:
- Also add port
19133(IPv6) - Save
-
Give your public IP to friends
- They add:
your.public.ip:19132 - Example:
123.45.67.89:19132
- They add:
Important:
- Bedrock uses UDP, not TCP!
- Make sure your router forwards UDP ports
- Public IP may change – consider using DDNS
Method B: Tunneling Tools (No Public IP Needed)
If you don’t have a public IP, use tunneling:
Recommended tools:
- SakuraFrp: https://www.natfrp.com/
- Ngrok: https://ngrok.com/
- ZeroTier: https://www.zerotier.com/ (virtual LAN)
Using SakuraFrp:
- Create an account and download the client
- Create a tunnel:
- Type: UDP
- Local IP:
127.0.0.1 - Local Port:
19132
- Start the tunnel – get a domain name
- Friends connect using that domain
Using ZeroTier (great for small groups):
- All players install ZeroTier
- Create a network and share the network ID
- Everyone joins the network
- Connect using the ZeroTier virtual IP
- No port forwarding needed – secure and easy
Method C: Minecraft Realms (Official Solution)
If self‑hosting is too much hassle, consider Minecraft Realms:
- Pros: Official, stable, one‑click invites
- Cons: Paid subscription (~$7.99/month)
- Purchase: Directly in‑game
Step 5: Server Administration
Common Console Commands
In the server command window, type commands directly:
# Show helphelp
# Stop the serverstop
# Save the worldsave hold # Pause auto‑savesave resume # Resume auto‑savesave query # Check save status
# Grant OP (admin) privilegesop PlayerName
# Remove OPdeop PlayerName
# Ban a playerban PlayerName
# Unban a playerpardon PlayerName
# List online playerslist
# Change game mode (in‑game or console)gamemode survival PlayerNamegamemode creative PlayerNamegamemode adventure PlayerName
# Teleporttp Player1 Player2tp PlayerName x y z
# Broadcast a messagesay Hello everyone, welcome to the server!
# Set world spawnsetworldspawnsetworldspawn x y z
# List all game rulesgamerule
# Keep inventory on deathgamerule keepinventory true
# Set timetime set daytime set nighttime set noon
# Set weatherweather clearweather rainweather thunder
# Change difficultydifficulty peacefuldifficulty easydifficulty normaldifficulty hard
# Kick a playerkick PlayerName
# Check server performancetickingarea listManaging Player Permissions
1. Using OP (Operator) Status
OPs have full command access.
# In console:op Steve
# In‑game (if already OP):/op SteveOP players can:
- Use all commands
- Ignore spawn protection
- Fly in any mode
- Break and place any block
2. Using a Whitelist
Allow only specific players to join:
# Enable whitelistwhitelist on
# Add players (use Xbox Gamertag or Microsoft account name)whitelist add Stevewhitelist add Alex
# Remove a playerwhitelist remove Steve
# List whitelisted playerswhitelist list
# Reload the whitelistwhitelist reloadYou can also enable in server.properties:
white-list=trueThen manually add players in whitelist.json.
3. Editing permissions.json
Bedrock has a more granular permission system.
Open permissions.json:
[ { "permission": "operator", "xuid": "1234567890123456" }, { "permission": "member", "xuid": "9876543210987654" }]Permission levels:
operator– full admin accessmember– regular playervisitor– spectator only
Getting a player’s XUID:
- When a player joins, their XUID shows in the console
- Or use online lookup tools
Backing Up World Data
Regular backups are essential!
Manual Backup
- Stop the server (type
stop) - Copy the
worldsfolder - Paste to another location as backup
- Restart the server
Automated Backup Script
Create backup.bat:
@echo offset backup_folder=D:\MC_Bedrock_Backupset server_folder=D:\MC_Bedrock_Serverset date_str=%date:~0,4%%date:~5,2%%date:~8,2%_%time:~0,2%%time:~3,2%%time:~6,2%set date_str=%date_str: =0%
if not exist "%backup_folder%" mkdir "%backup_folder%"
echo Backing up Bedrock server...xcopy "%server_folder%\worlds" "%backup_folder%\worlds_%date_str%" /E /I /Y
echo Backup complete!pauseRun this weekly, or before any major changes.
Step 6: Cross‑Platform Play Guide
Bedrock’s biggest strength is cross‑platform play! Here are platform‑specific notes:
Windows 10/11 PC
- Buy Minecraft for Windows from the Microsoft Store
- Log in with a Microsoft account
- Fully compatible with mobile versions
Mobile / Tablet (iOS / Android)
- Download from App Store or Google Play
- Paid purchase required (~7.99)
- Touch‑optimised interface
- Fully cross‑plays with PC
Xbox One / Series
- Requires Xbox Live Gold (for online play)
- Controller‑based
- Full cross‑platform support
Nintendo Switch
- Requires Nintendo Switch Online membership
- Portable mode works too
- Slightly lower performance than other platforms
PlayStation 4 / 5
- Requires PlayStation Plus membership
- Supports cross‑play (requires linking Sony account to Microsoft account)
Tip: All players need a Microsoft account for cross‑platform play.
Step 7: Performance Optimisation
1. server.properties Optimisation
# Lower view distance (biggest impact)tick-distance=4
# Limit max playersmax-players=10
# Adjust threads (based on CPU cores)max-threads=4
# Disable unnecessary featureseducation-feature-enabled=falsecontent-log-file-enabled=false2. System Optimisation
Close background apps:
- Browsers, video software, etc. – they steal CPU and RAM
Set process priority:
- Open Task Manager (
Ctrl + Shift + Esc) - Find
bedrock_server.exe - Right‑click → Go to Details
- Right‑click the process → Set Priority → High
Power plan:
- Control Panel → Power Options
- Select “High Performance”
3. Network Optimisation
Check upload speed:
- Test at https://speedtest.net
- Bedrock requires ~0.1‑0.5 Mbps per player
- 10 players = at least 5‑10 Mbps upload
Use a wired connection:
- Ethernet is better than WiFi – less lag and packet loss
Port forwarding best practices:
- Only open necessary ports (19132 UDP)
- Don’t open extra ports on your firewall
Common Issues & Solutions
1. Server Won’t Start
Symptom: bedrock_server.exe opens and closes instantly.
Fixes:
- Check if antivirus is blocking it – add folder to whitelist
- Ensure no other server instance is running
- Check if the port is already in use
- Run as Administrator
2. Friends Can’t Connect
Symptom: “Can’t connect to world” or “Connection timed out”.
Fixes:
- Is the server actually running?
- Double‑check IP address and port
- Confirm firewall allows UDP ports 19132‑19133
- LAN: make sure everyone is on the same WiFi
- Online: check port forwarding (UDP!)
Test connectivity:
# On friend's PCping your.ip.address
# Test port (requires telnet)telnet your.ip.address 191323. LAN Auto‑Discovery Not Working
Symptom: Server doesn’t show up on mobile devices.
Fixes:
- Ensure all devices are on the same WiFi network
- Check if router has AP isolation enabled (turn it off)
- Try manually adding the server (use IP)
- Restart router and all devices
- Make sure everyone is logged into Microsoft accounts
4. Server is Laggy / High Ping
Symptom: Low TPS, players experience delays.
Fixes:
- Lower
tick-distance(view distance) - Reduce
max-players - Disable redstone machines near spawn
- Clear excess entities (animals, monsters, items)
- Check upload bandwidth
- Use a wired network connection
Clear entities command:
# Remove all dropped itemskill @e[type=item]
# Remove experience orbskill @e[type=xp_orb]
# Remove entities within a radius (except players)kill @e[r=50,type=!player]5. Authentication Issues
Symptom: Friends get “Failed to authenticate” errors.
Fixes:
- Ensure all players own a legitimate copy of Minecraft
- Make sure everyone is logged into Microsoft accounts
- If everyone uses offline/cracked launchers, set
online-mode=false - Warning: Offline mode is insecure – anyone can join with any name
6. Port Already in Use
Symptom: Error says port is already occupied.
Fixes:
- Change
server-portinserver.propertiesto another value (e.g., 19134) - Or find and kill the process using the port:
Terminal window netstat -ano | findstr :19132taskkill /PID process_id /F
7. World Corruption
Symptom: Server fails to load the world.
Fixes:
- Restore from a backup
- Delete the corrupted world and generate a new one
- Use third‑party repair tools (e.g., Universal Minecraft Editor)
8. Xbox Live Connectivity
Symptom: Error about Xbox Live service being unavailable.
Fixes:
- Check Xbox Live status: https://support.xbox.com/
- Ensure all players are signed into Microsoft accounts
- Restart the game and server
- Check network connection
Final Words
Congratulations! You’ve successfully set up your own Minecraft Bedrock Edition server!
Quick recap:
- Downloaded the official Bedrock server
- Extracted and launched it for the first time
- Configured
server.properties - Set up firewall (UDP ports)
- Connected (local / LAN / online)
- Managed players and permissions
- Set up backups and optimisation
Bedrock’s strengths:
- Cross‑platform: Mobile, PC, and consoles all together
- Performance: C++ native code, lightweight
- Easy setup: Simple config, auto‑discovers LAN servers
- Mobile friendly: Play anywhere, anytime
What you can do next:
- Invite friends from different platforms
- Explore Bedrock‑specific Add‑ons and Marketplace content
- Learn more Bedrock commands and mechanics
- Build mini‑game maps
- Grow your cross‑platform community
Java vs Bedrock – which one to pick?
- Want mods and technical gameplay → Java
- Want cross‑platform with friends → Bedrock
- Casual players / kids → Bedrock
- Redstone engineers / builders → Java
- Why not try both? They each have their own charm!
If you run into issues:
- Check the console logs
- Visit Minecraft forums
- Join Bedrock player communities
- Look for video tutorials online
Have a blast in the world of Minecraft – no matter what device you’re on, may you create wonderful memories with your friends!
Useful Links:
- Minecraft Official Site: https://www.minecraft.net/
- Bedrock Server Download: https://www.minecraft.net/en-us/download/server/bedrock
- Minecraft Wiki (Bedrock): https://minecraft.wiki/w/Bedrock_Edition
- Xbox Service Status: https://support.xbox.com/
- PocketMine‑MP: https://pmmp.io/
- ZeroTier: https://www.zerotier.com/