

Inside the Maimai DX Arcade Cabinet – A Technical Breakdown
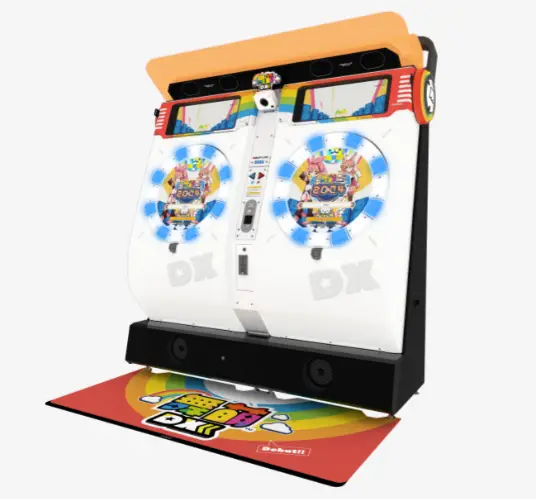
The Screen Setup
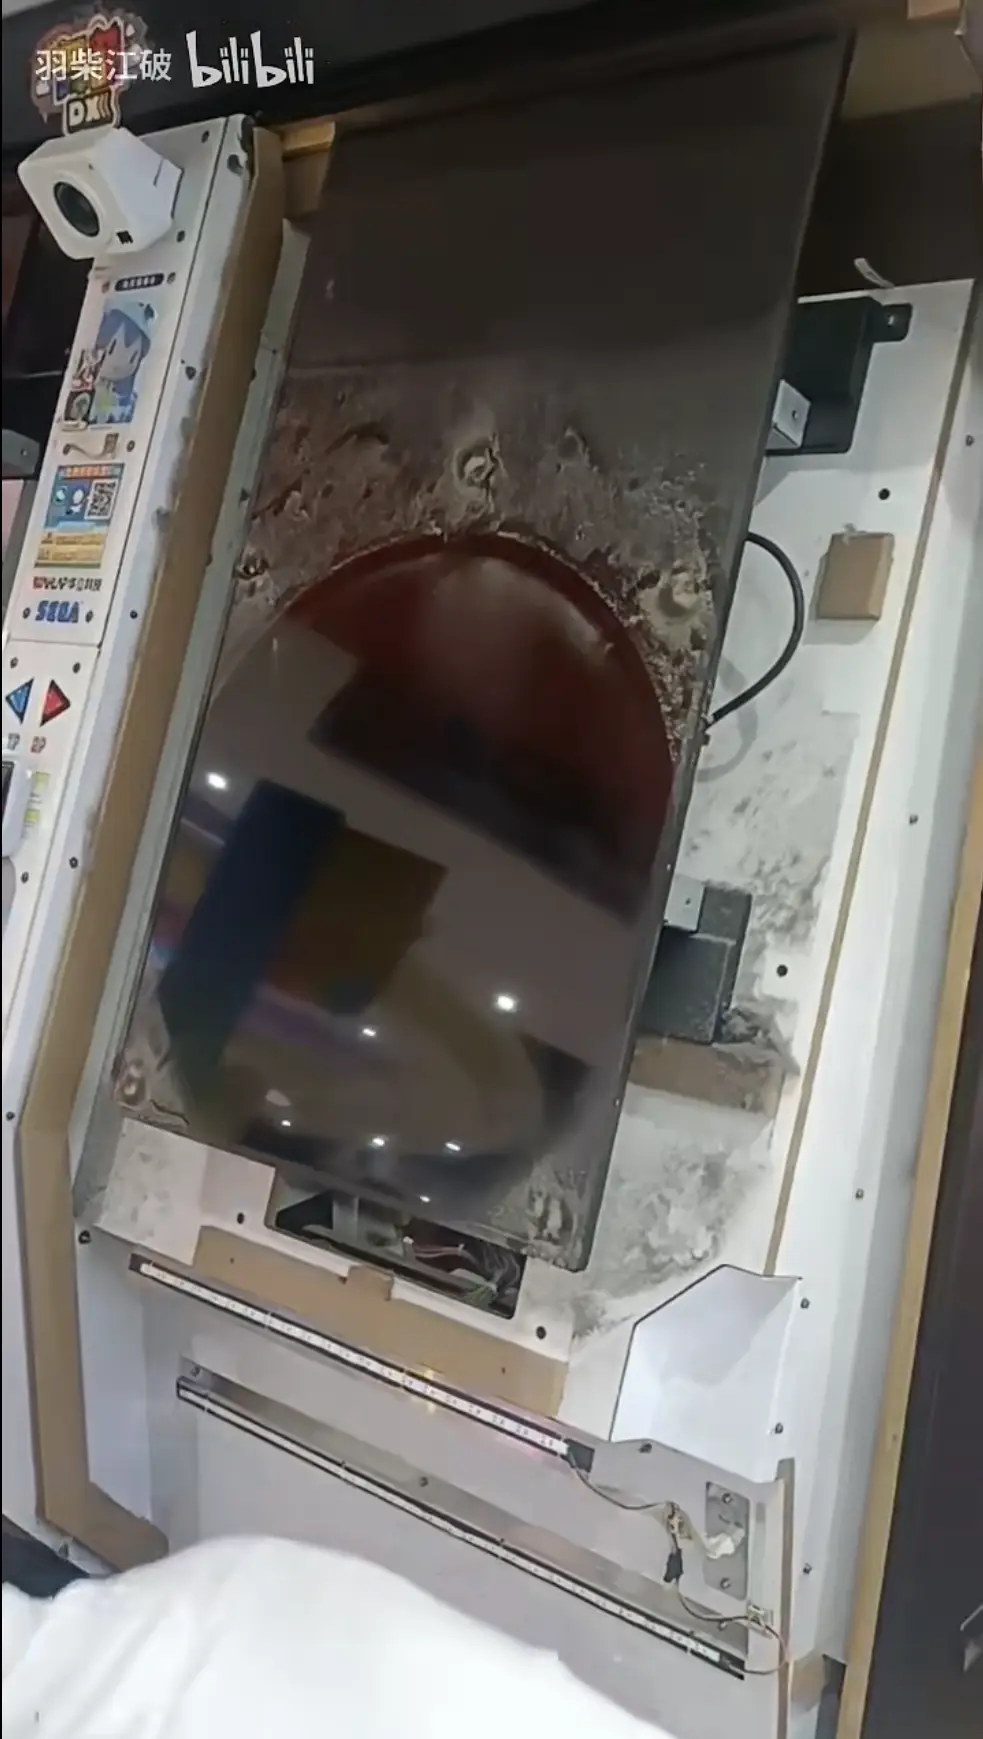
Many players assume that Maimai DX uses a single large screen split into two halves. In reality, it’s two separate 43-inch displays mounted vertically side by side, as shown in the image above (credit: BV1kt4y1h7QW). I haven’t been able to track down the exact manufacturer or model of these panels – if anyone knows, feel free to chime in.
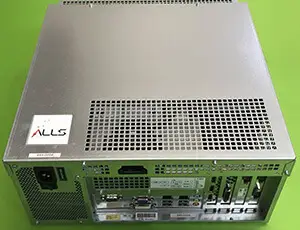
The Base Hardware (System Board)
Maimai DX runs on SEGA’s ALLS HX2 arcade board, which is essentially a custom‑spec PC. Here’s what’s inside:
- Motherboard: Gigabyte MCH31AM‑S2 (Intel H310 chipset)
- CPU: Intel Core i3‑8100
- RAM: 2× 4 GB DDR4
- GPU: NVIDIA GeForce GTX 1050 Ti
- OS: Windows 10 IoT LTSC 2019
The Buttons
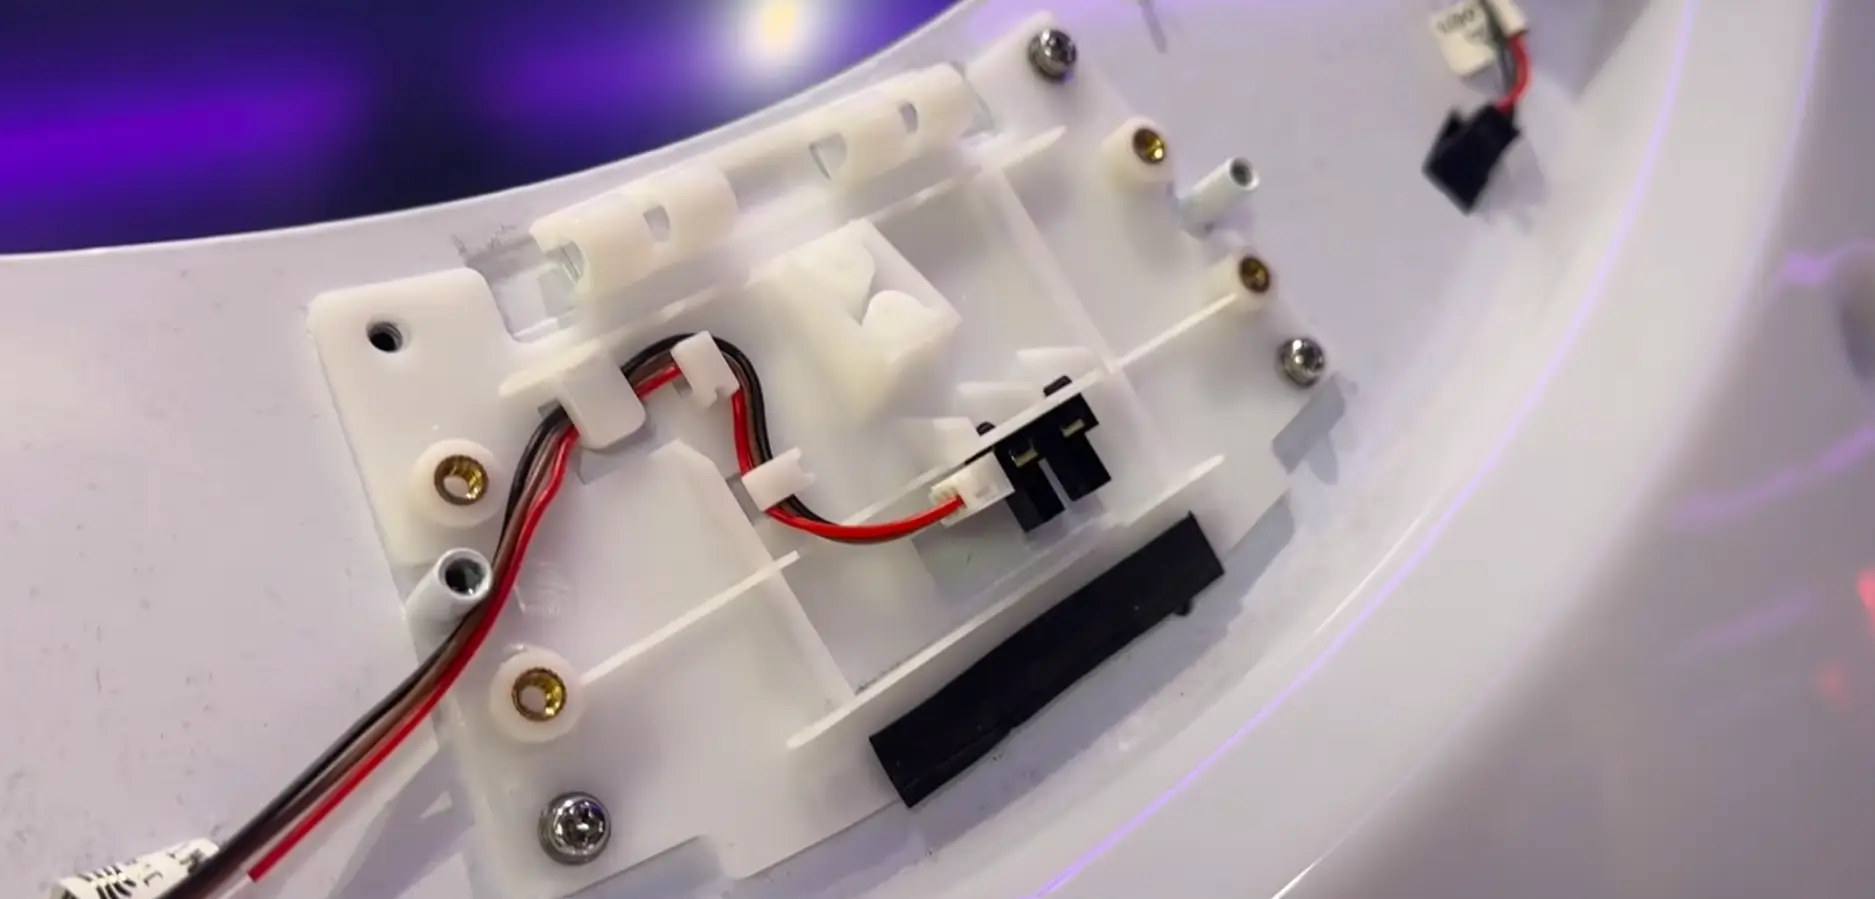
A common misconception is that the buttons are simple mechanical microswitches – but they’re actually optical switches.
When you press a button, it compresses a spring leaf that blocks an infrared sensor, registering the hit. This design offers longer lifespan, faster response, and lower cost compared to traditional microswitches. In fact, this optical setup is standard across most rhythm game arcade cabinets, not just Maimai.
The Touchscreen
The touchscreen on Maimai DX is a capacitive touch panel – similar in principle to what you’d find on a smartphone, but with one key difference:
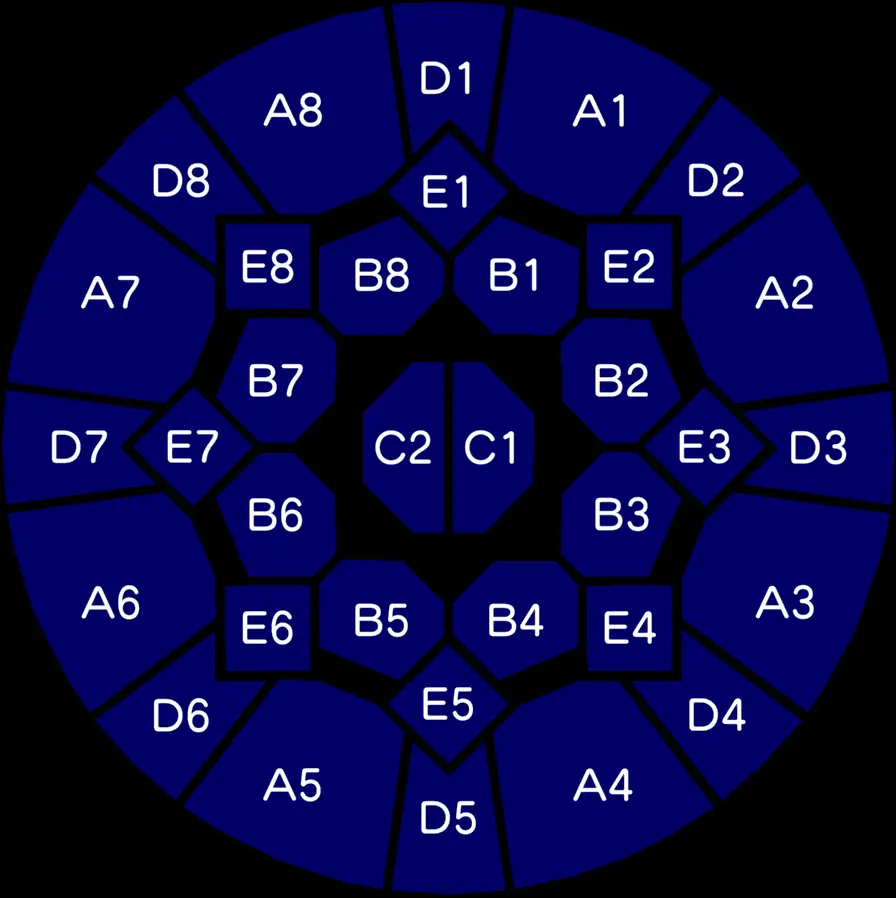
Instead of pinpointing exact touch coordinates like a phone does, the screen is divided into 34 touch zones. Touching anywhere within a zone triggers that specific zone, essentially acting like 34 independent touch switches. The underlying sensing technology, however, is still capacitive.
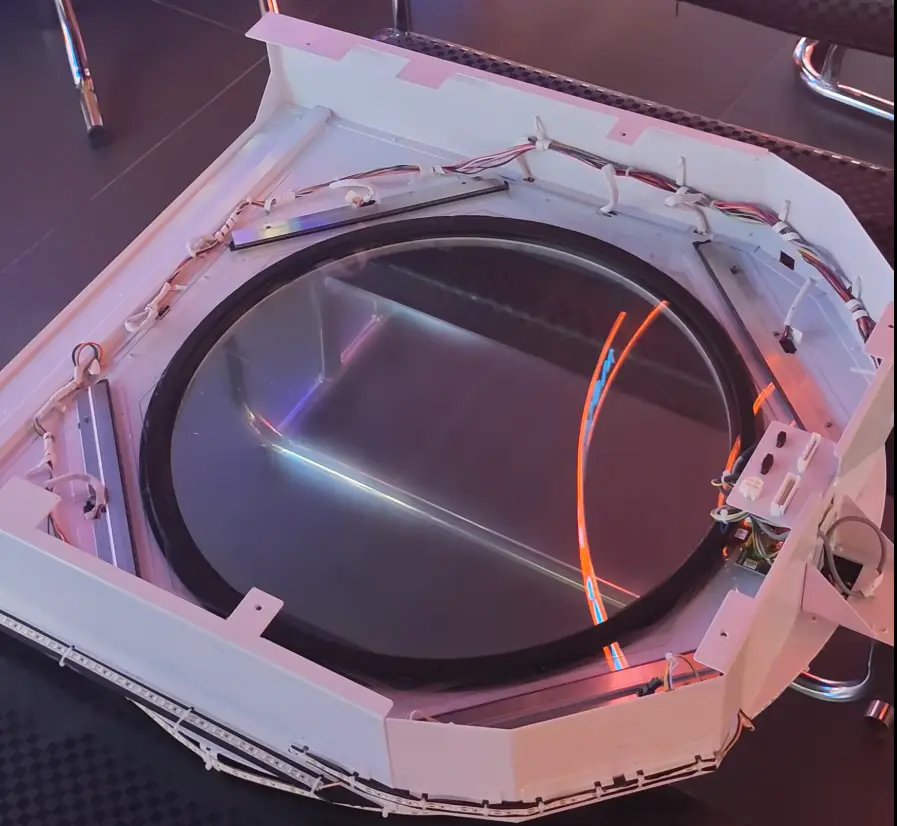
The touch panel is manufactured using magnetron sputtering, which slightly reduces light transmittance – that’s why the screen can look a bit washed out or hazy from certain angles. On the plus side, this coating helps hide the internal sensor traces, so you don’t see the zone wiring under normal viewing conditions.
The entire touch surface is a single piece of glass – reportedly 5 mm thick rare‑earth glass.
Interestingly, the touch panel material on Japanese cabs seems to differ from the ones used in Chinese (export) units. Japanese panels have a bit more flexibility and sit closer to the display, which gives them better image clarity and less noticeable parallax. The trade‑off is durability – they’re more prone to showing white distortion under heavy hits, but they also suffer fewer issues like “ghost notes” or missed star inputs compared to the export versions.
Button Maintenance & Tuning
If you’re looking to restore or maintain button feel, your best bet is to buy official replacement parts from Wahlap Technology – they’re the only ones guaranteed to match the original factory feel.
Over time, heavy play can cause the spring leaf inside a button to deform, making it feel “mushy” or too soft. The button housing itself can also develop cracks or even have its retaining clips snap off. That leads to loose buttons, rattling noises on impact, or in worst‑case scenarios, the broken clip pieces can jam the button mechanism entirely, preventing it from returning or even pressing down.
For minor spring leaf deformation, you can carefully bend it back into shape – but don’t overdo it, or you risk metal fatigue and a snapped leaf. If the housing is cracked or the clips are broken, just replace the button casing entirely.
Touchscreen Optimization & Fixes
There’s no one‑size‑fits‑all cure for the dreaded “ghost touches,” missed star inputs, or unresponsive zones – but in most cases, the root cause is one of these three:
- Poor cabinet grounding
- Dust buildup over time
- Screen aging / wear
Poor grounding is by far the most common culprit. Without a solid ground connection, internal devices can create common‑mode interference, which messes with the capacitive touch controller – leading to phantom touches, dead zones, or erratic behavior. The fix is simple: make sure the cabinet is properly grounded.
As for the rumor that “unstable voltage causes missed star inputs” – I’m skeptical. Most modern arcades and shopping malls are already equipped with industrial‑grade power conditioning and filtering. Voltage fluctuations severe enough to affect the touchscreen are extremely rare in practice.
If you’ve already tried grounding, cleaning, and basic maintenance but still have issues, there’s one more trick you can try: add an RS‑232 optical isolator.
Here’s how:
- Open the rear maintenance panel on the 2P side of the cabinet.
- Locate the two serial cables labeled COM3 and COM4 on the system board – these carry the touch signals for Player 1 and Player 2, respectively.
- Unplug both cables, then plug each one into an RS‑232 optical isolator, and plug the isolators back into the COM ports on the board.
This has been known to reduce or even eliminate ghost touch / missed input problems in some cases, by breaking ground loops and isolating electrical noise.